This example project demonstrates making a simple dialogue-based game when beginning with only an empty Unity scene.
Display Yarn dialogue in a Unity scene
Allow a player to select between options to respond
Add some static visuals
Yarn Spinner installed in Unity: Installation for Unity
Yarn Spinner set up in a text editor: Editing with VS Code
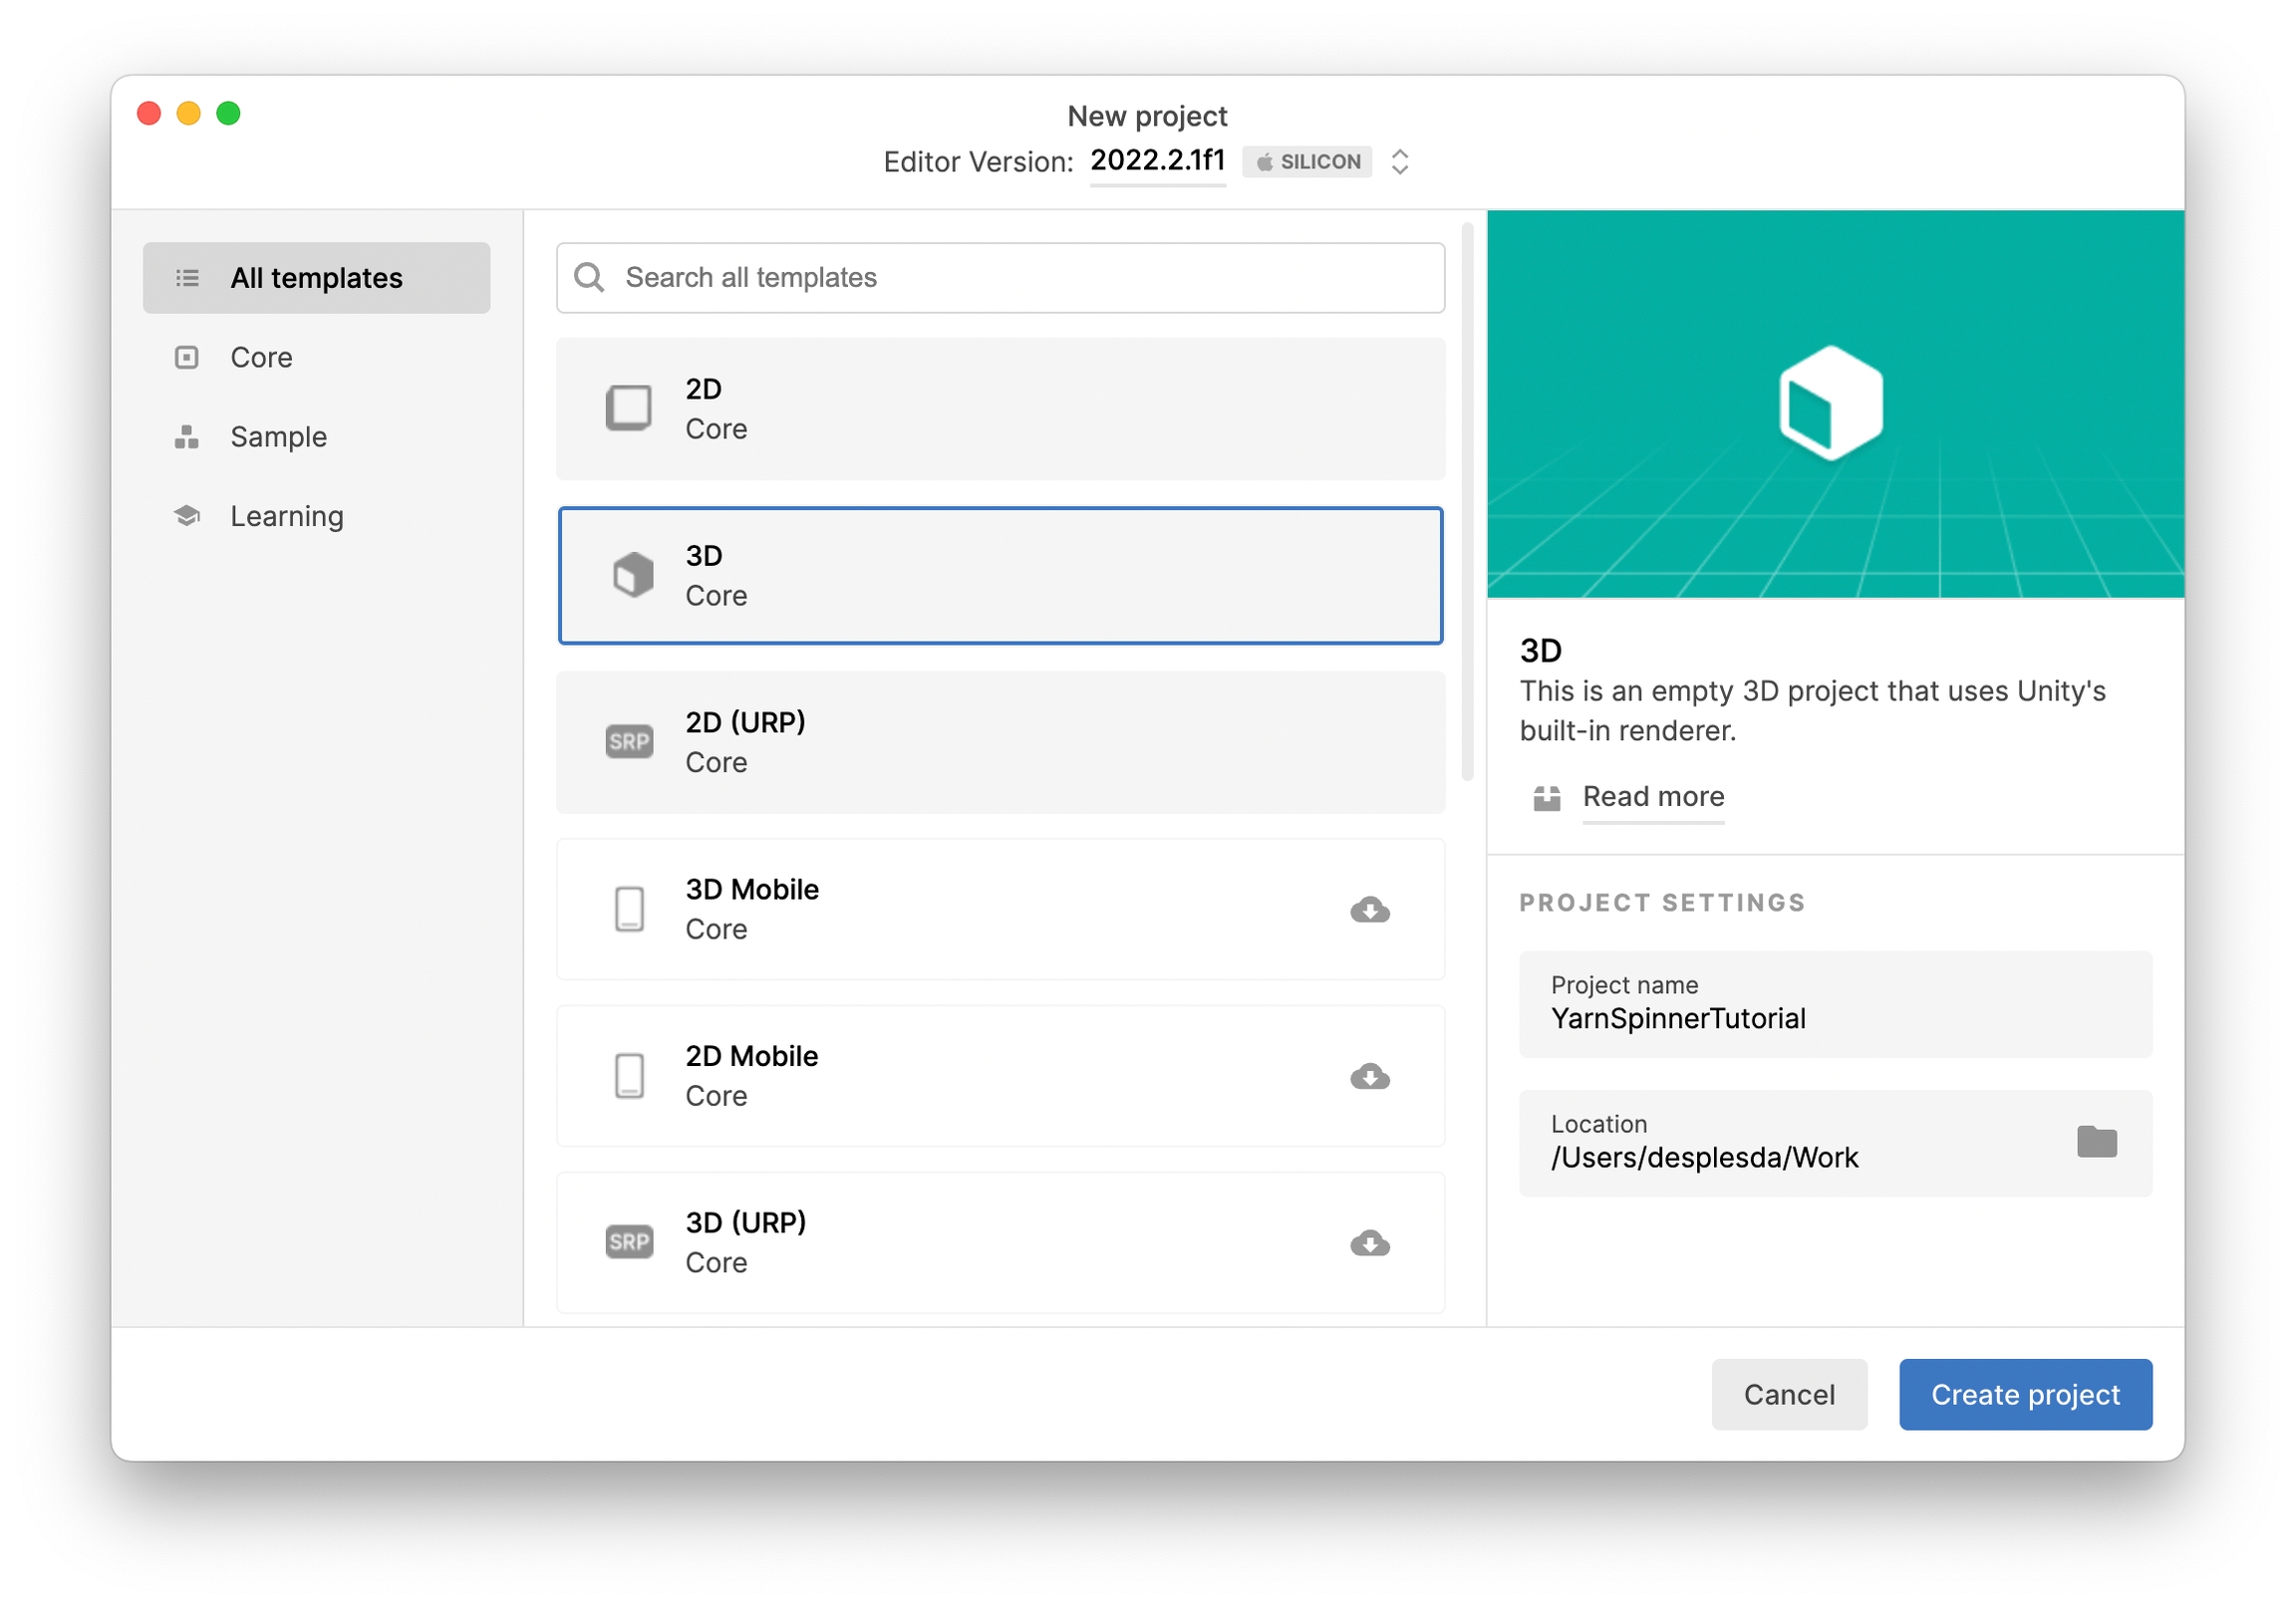
Open a new Unity 3D project. Ensure Yarn Spinner has been added to the project in the Package Manager as per the Installation Instructions.
If the sample empty scene is not visible, you'll need to open it. In the Project Window where project files are displayed, navigate to Assets > Scenes and select SampleScene.unity.
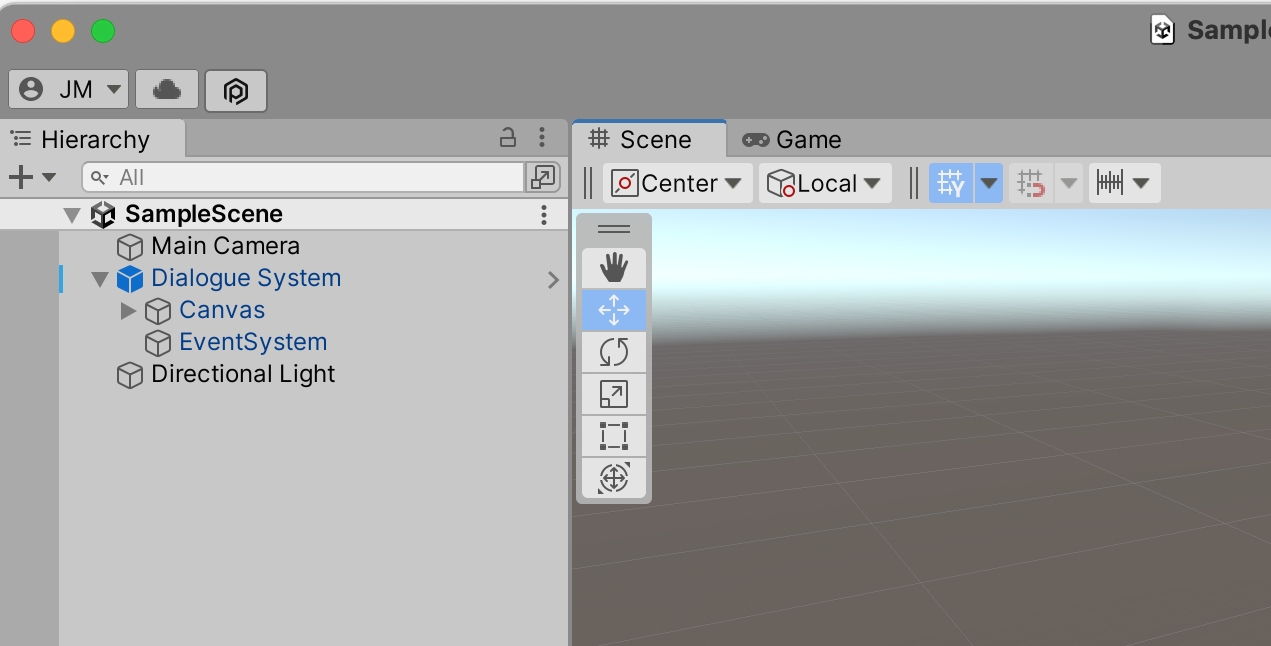
Yarn Spinner for Unity comes with a pre-made UI layer and accompanying utility scripts to handle displaying lines and presenting options from Yarn files. Add one by opening the GameObject menu, and choosing Yarn Spinner > Dialogue System.
Depending on your version of Unity, a window might appear asking you to import TextMesh Pro assets. If this appears, click 'Import TMP Essentials'.
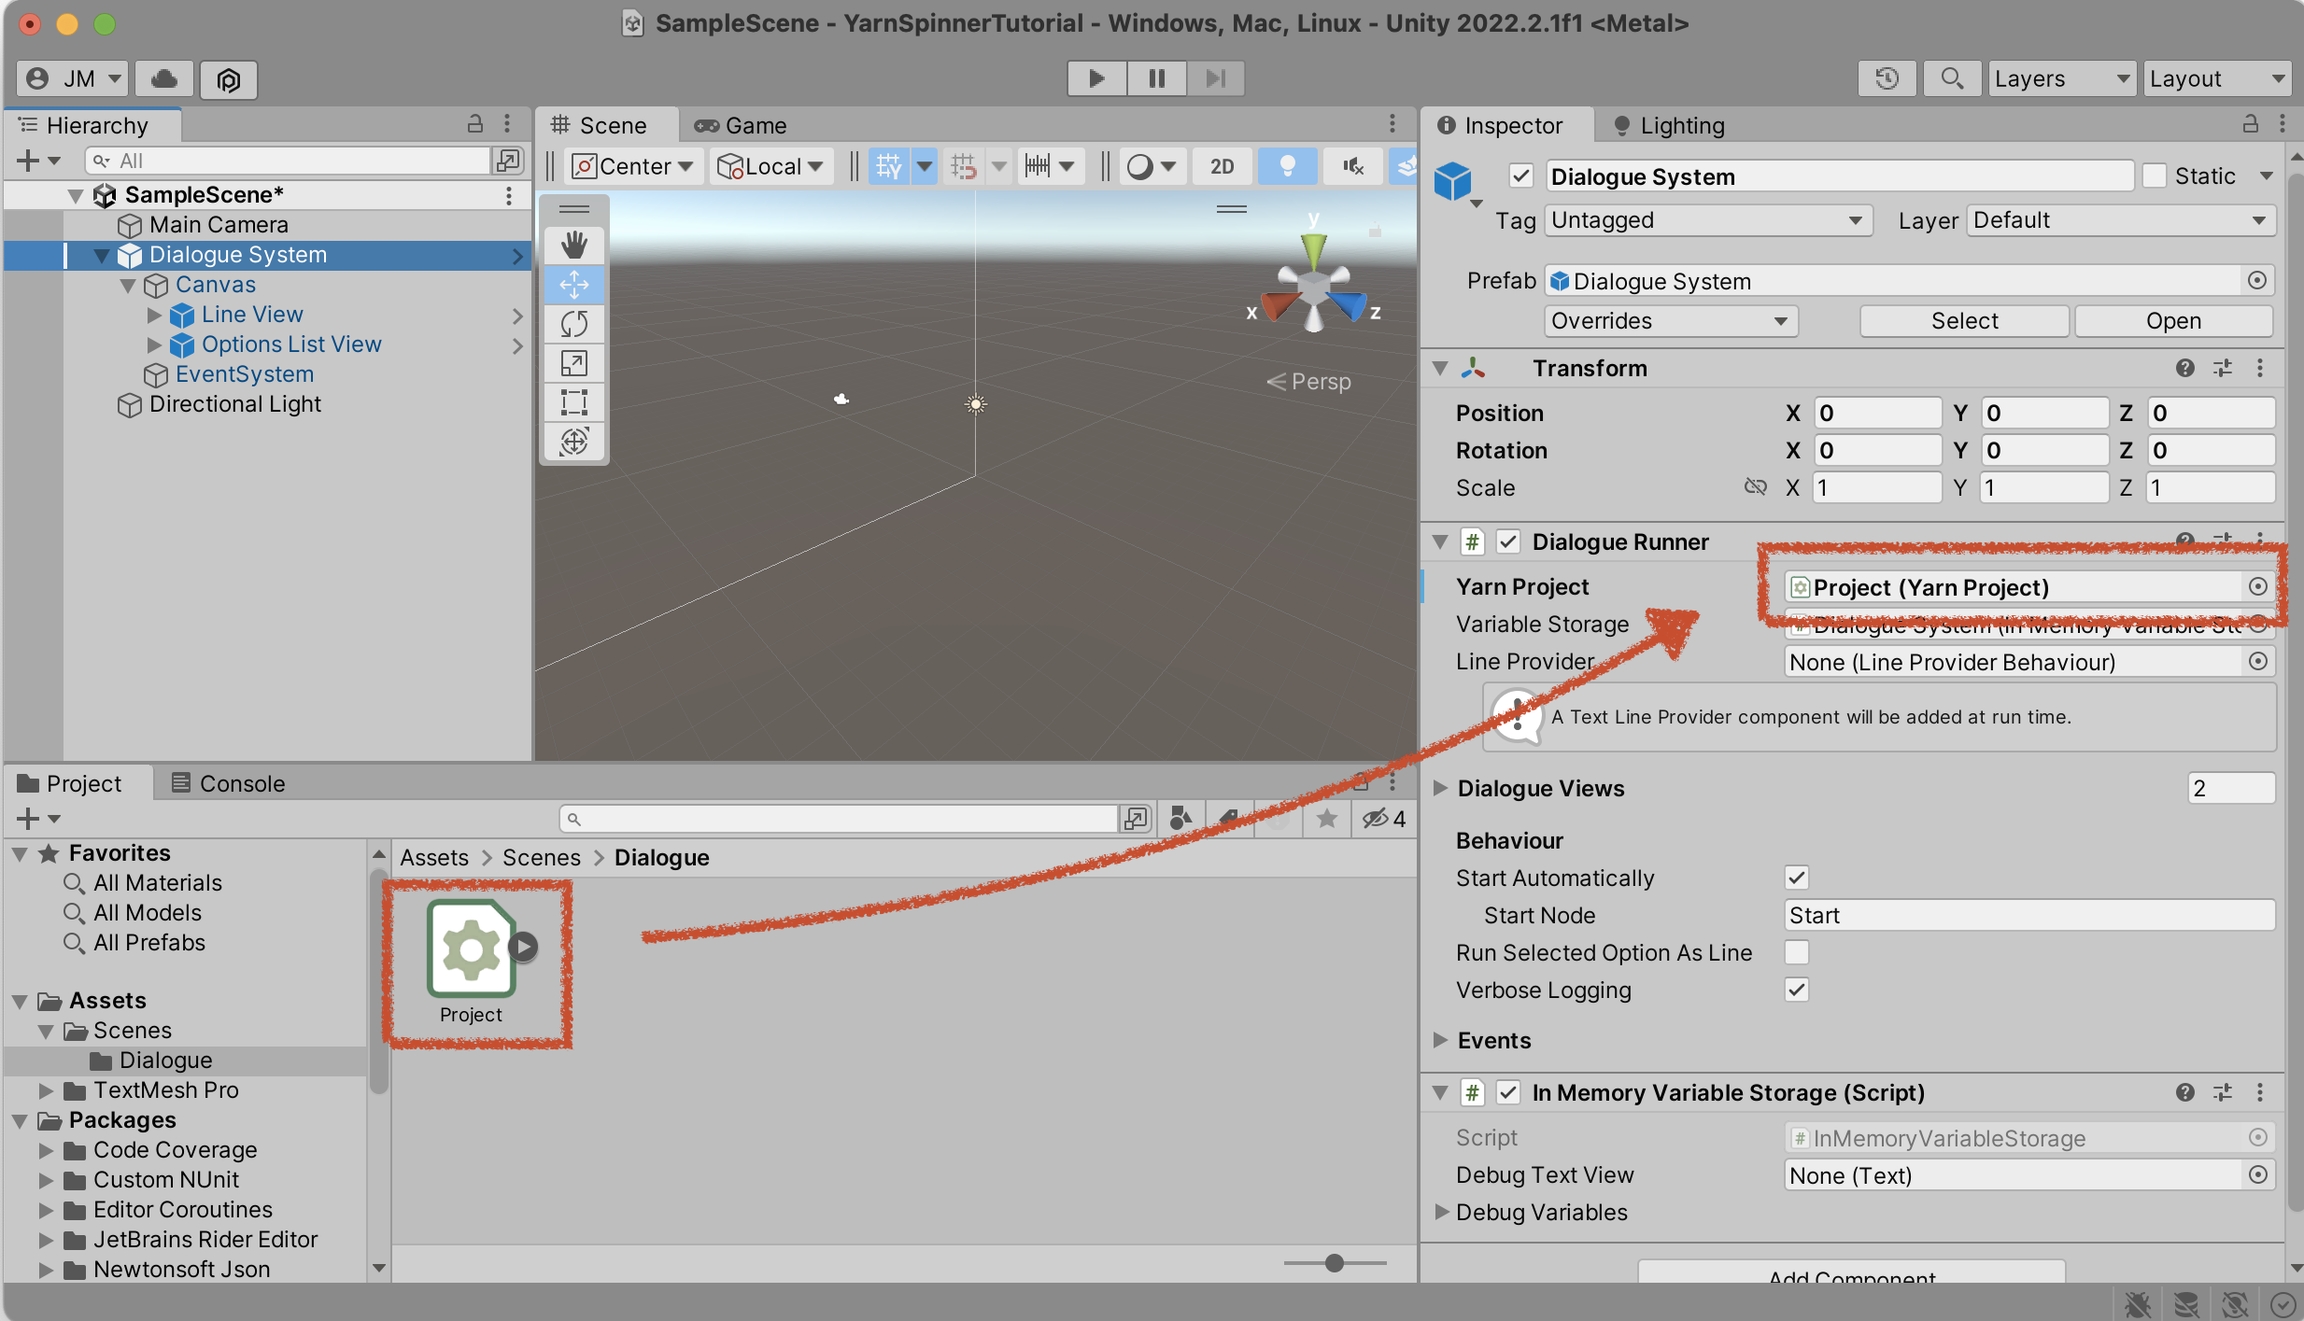
When the Dialogue System in the scene is selected, the Inspector will display the Yarn Project it is expecting line from. Here, a Yarn Project is a kind of linking file that groups Yarn script files together.
To make one, navigate to a sensible place for the file to live (such as a new folder Assets > Dialogue) and right-click the Project Window pane to select Create > Yarn Spinner > Yarn Project.
The existence of Yarn Projects allows larger games with multiple dialogue systems (e.g. main story dialogue, barks, storylets) to separate into multiple projects that pass lines to different UI or systems. This allows an extra level of organisation above separate Yarn files which are typically used to separate story scenes or parts.
However, most games will need only a single Yarn Project.
Select the scene's Dialogue System again and drag the new Yarn Project into the labelled slot in the Inspector.
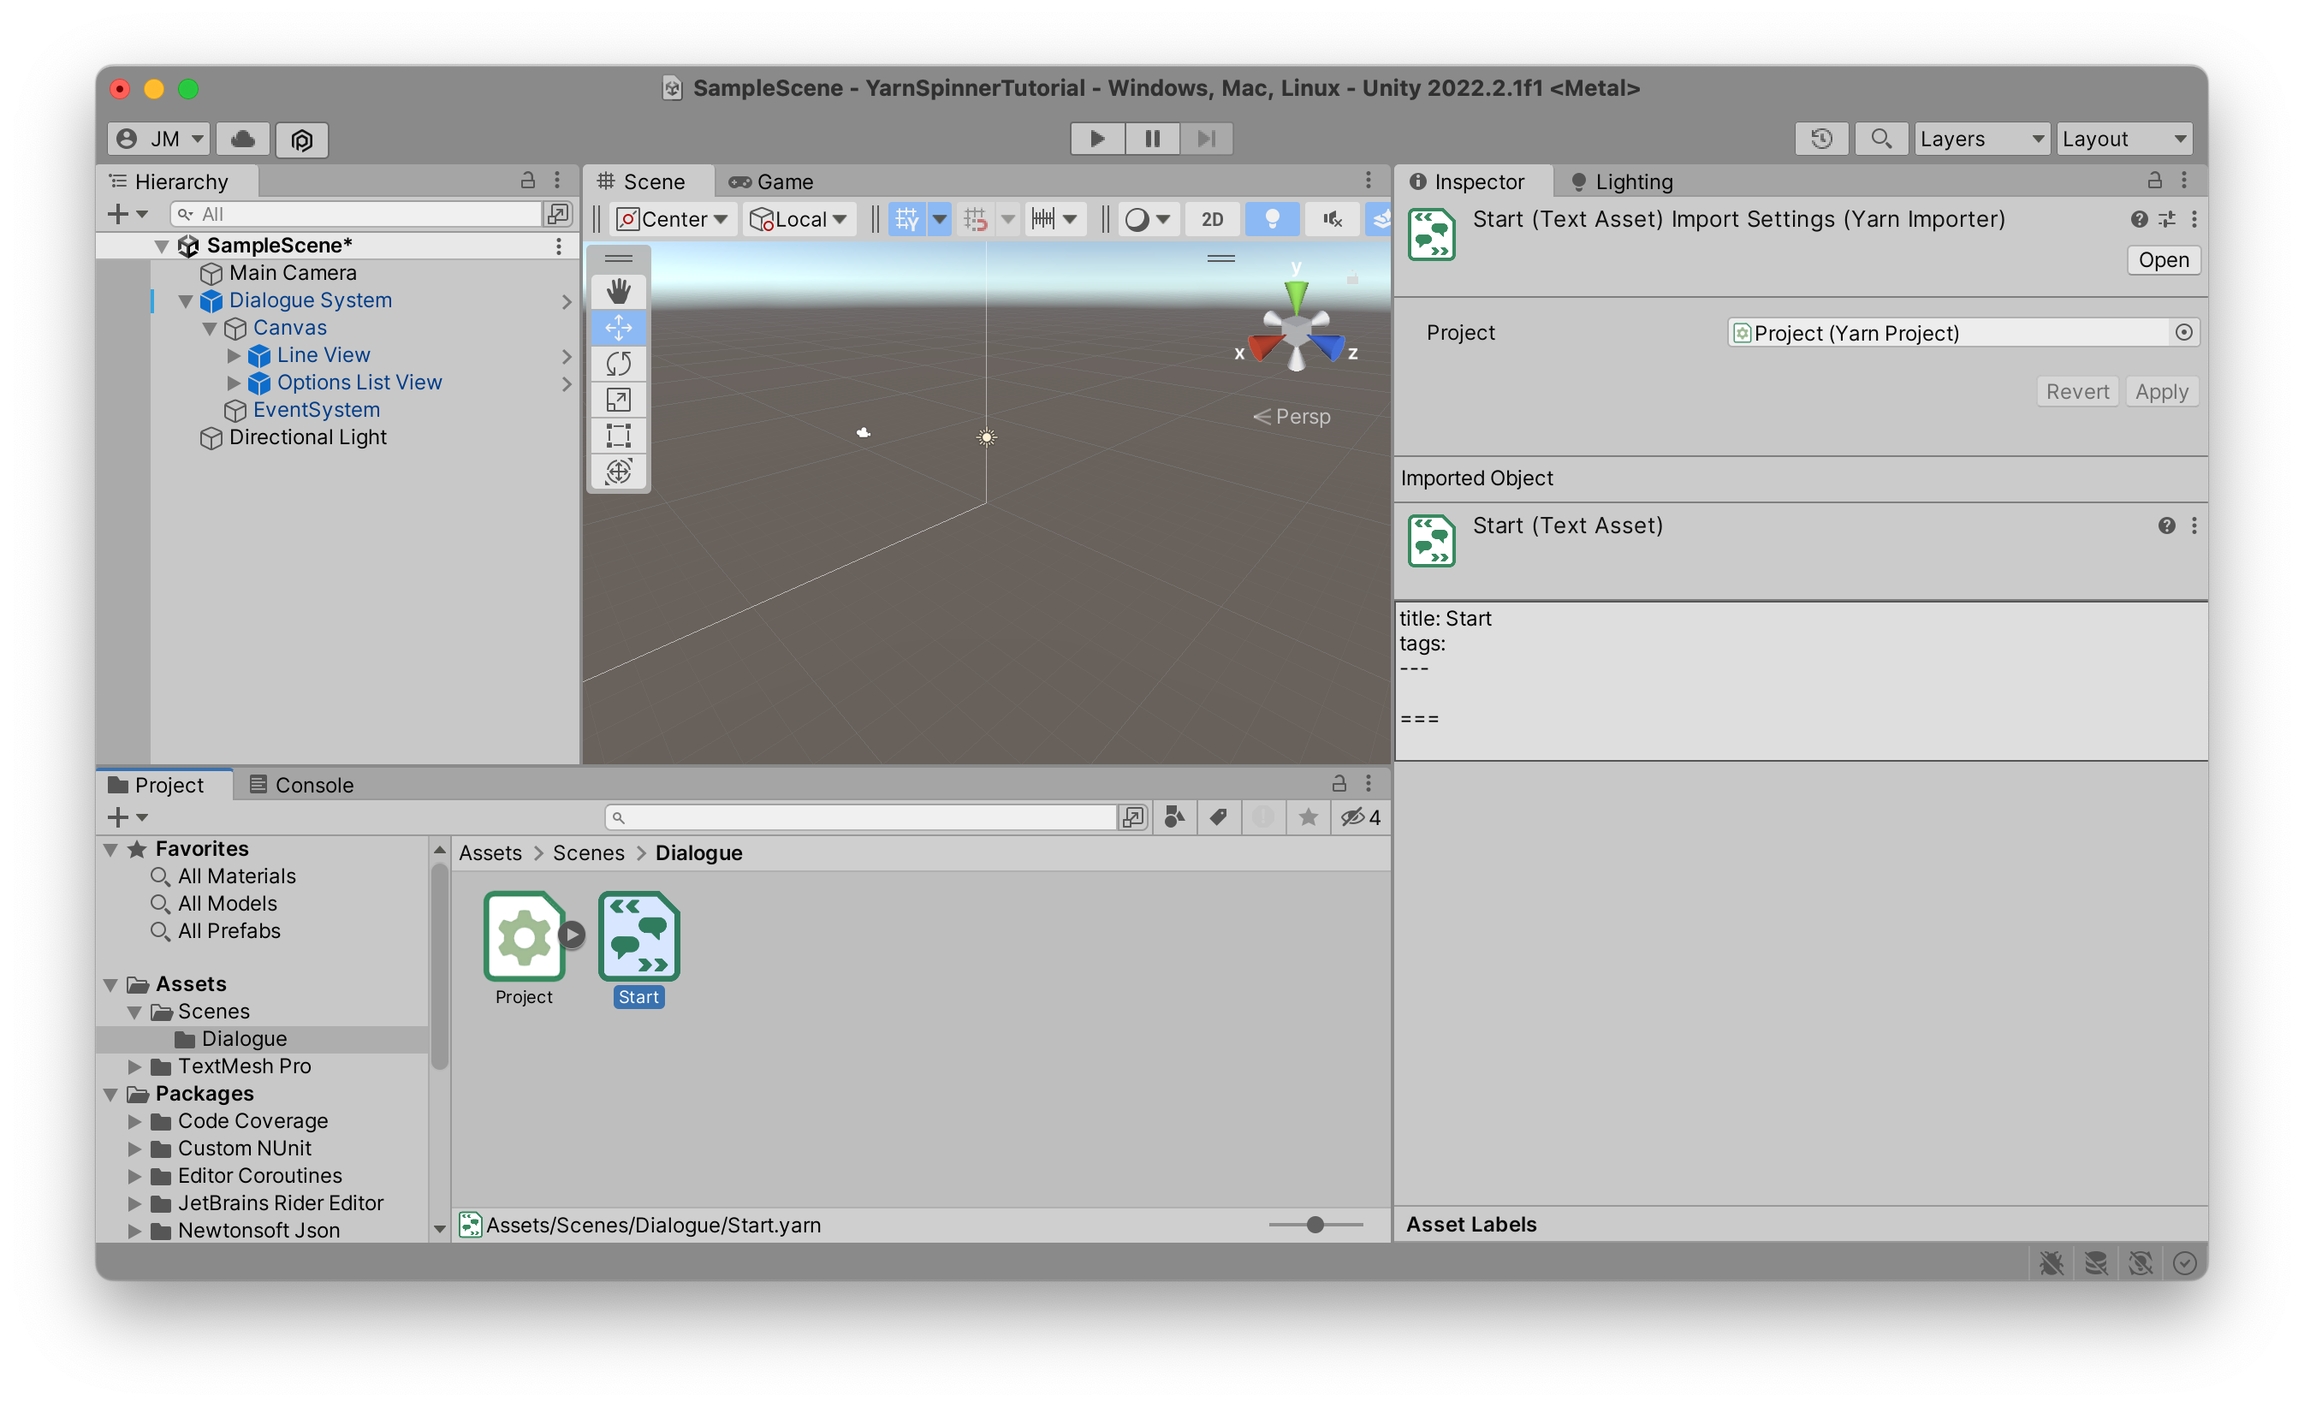
Now the Yarn Project needs one or more Yarn Scripts to get dialogue from. Just like with the Yarn Project, navigate to the desired file location and select Create > Yarn Spinner > Yarn Script. Name the new script Start, and place it in the same folder as the Yarn Project. This will make the Yarn Script be included in the Yarn Project.
By default, a new Yarn Script begins with a single empty node with the name of the file. Open the file, rename the node to Start and put a single line of test dialogue. You may remove the tags field.
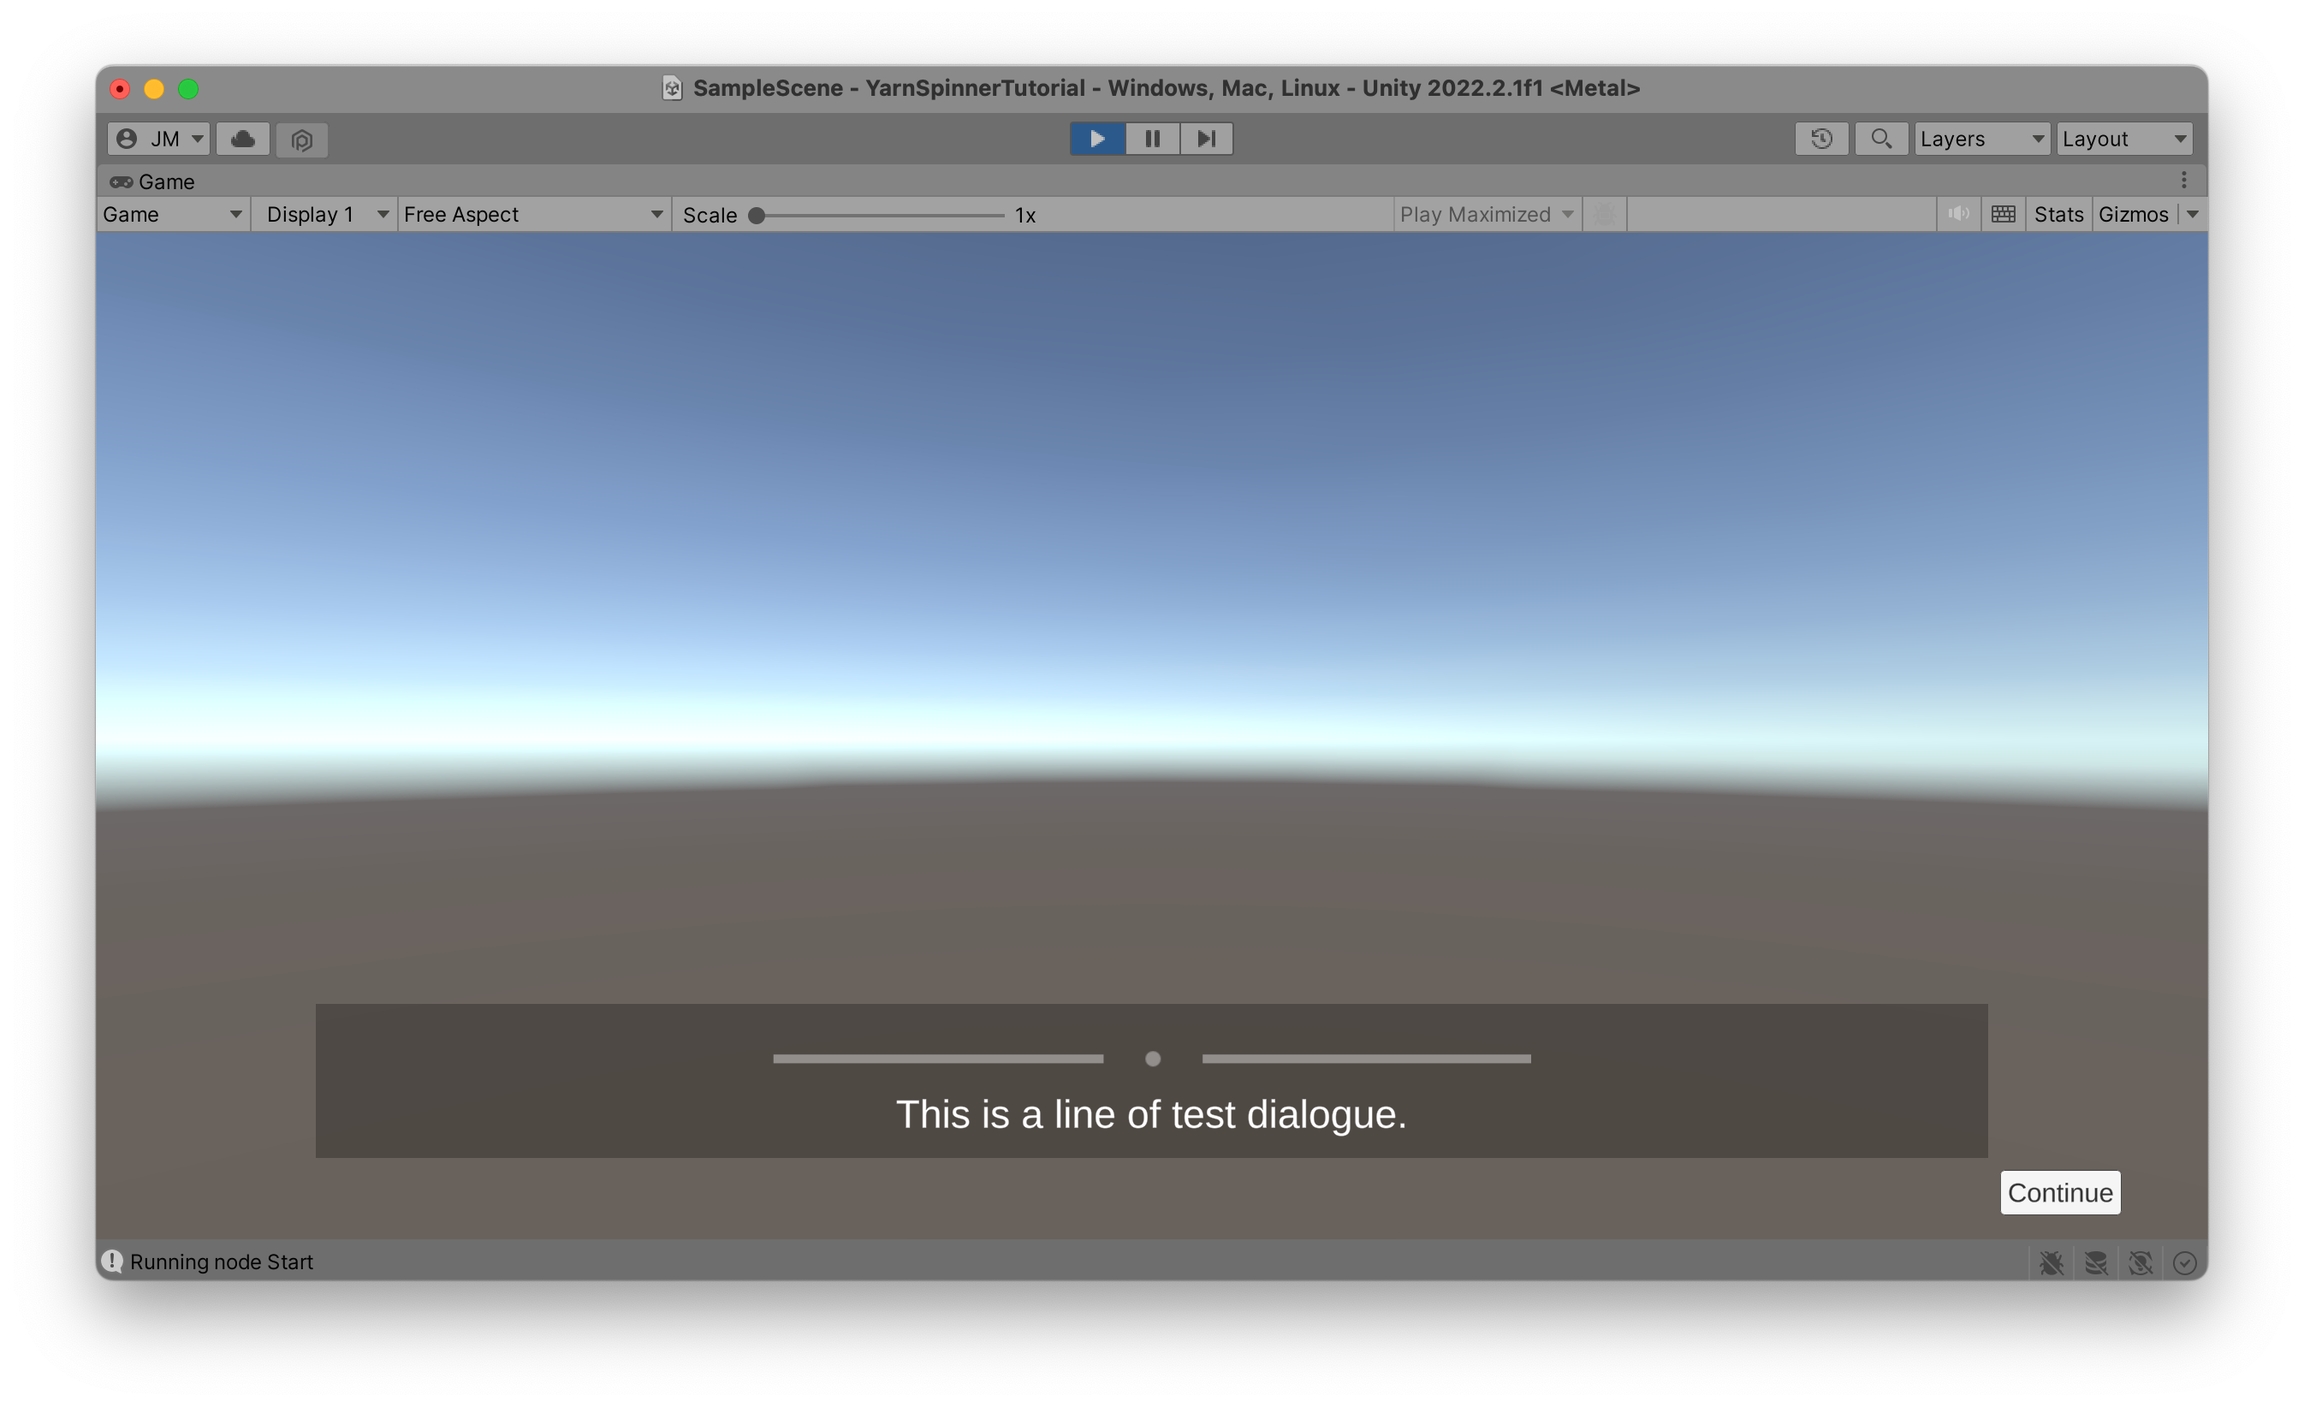
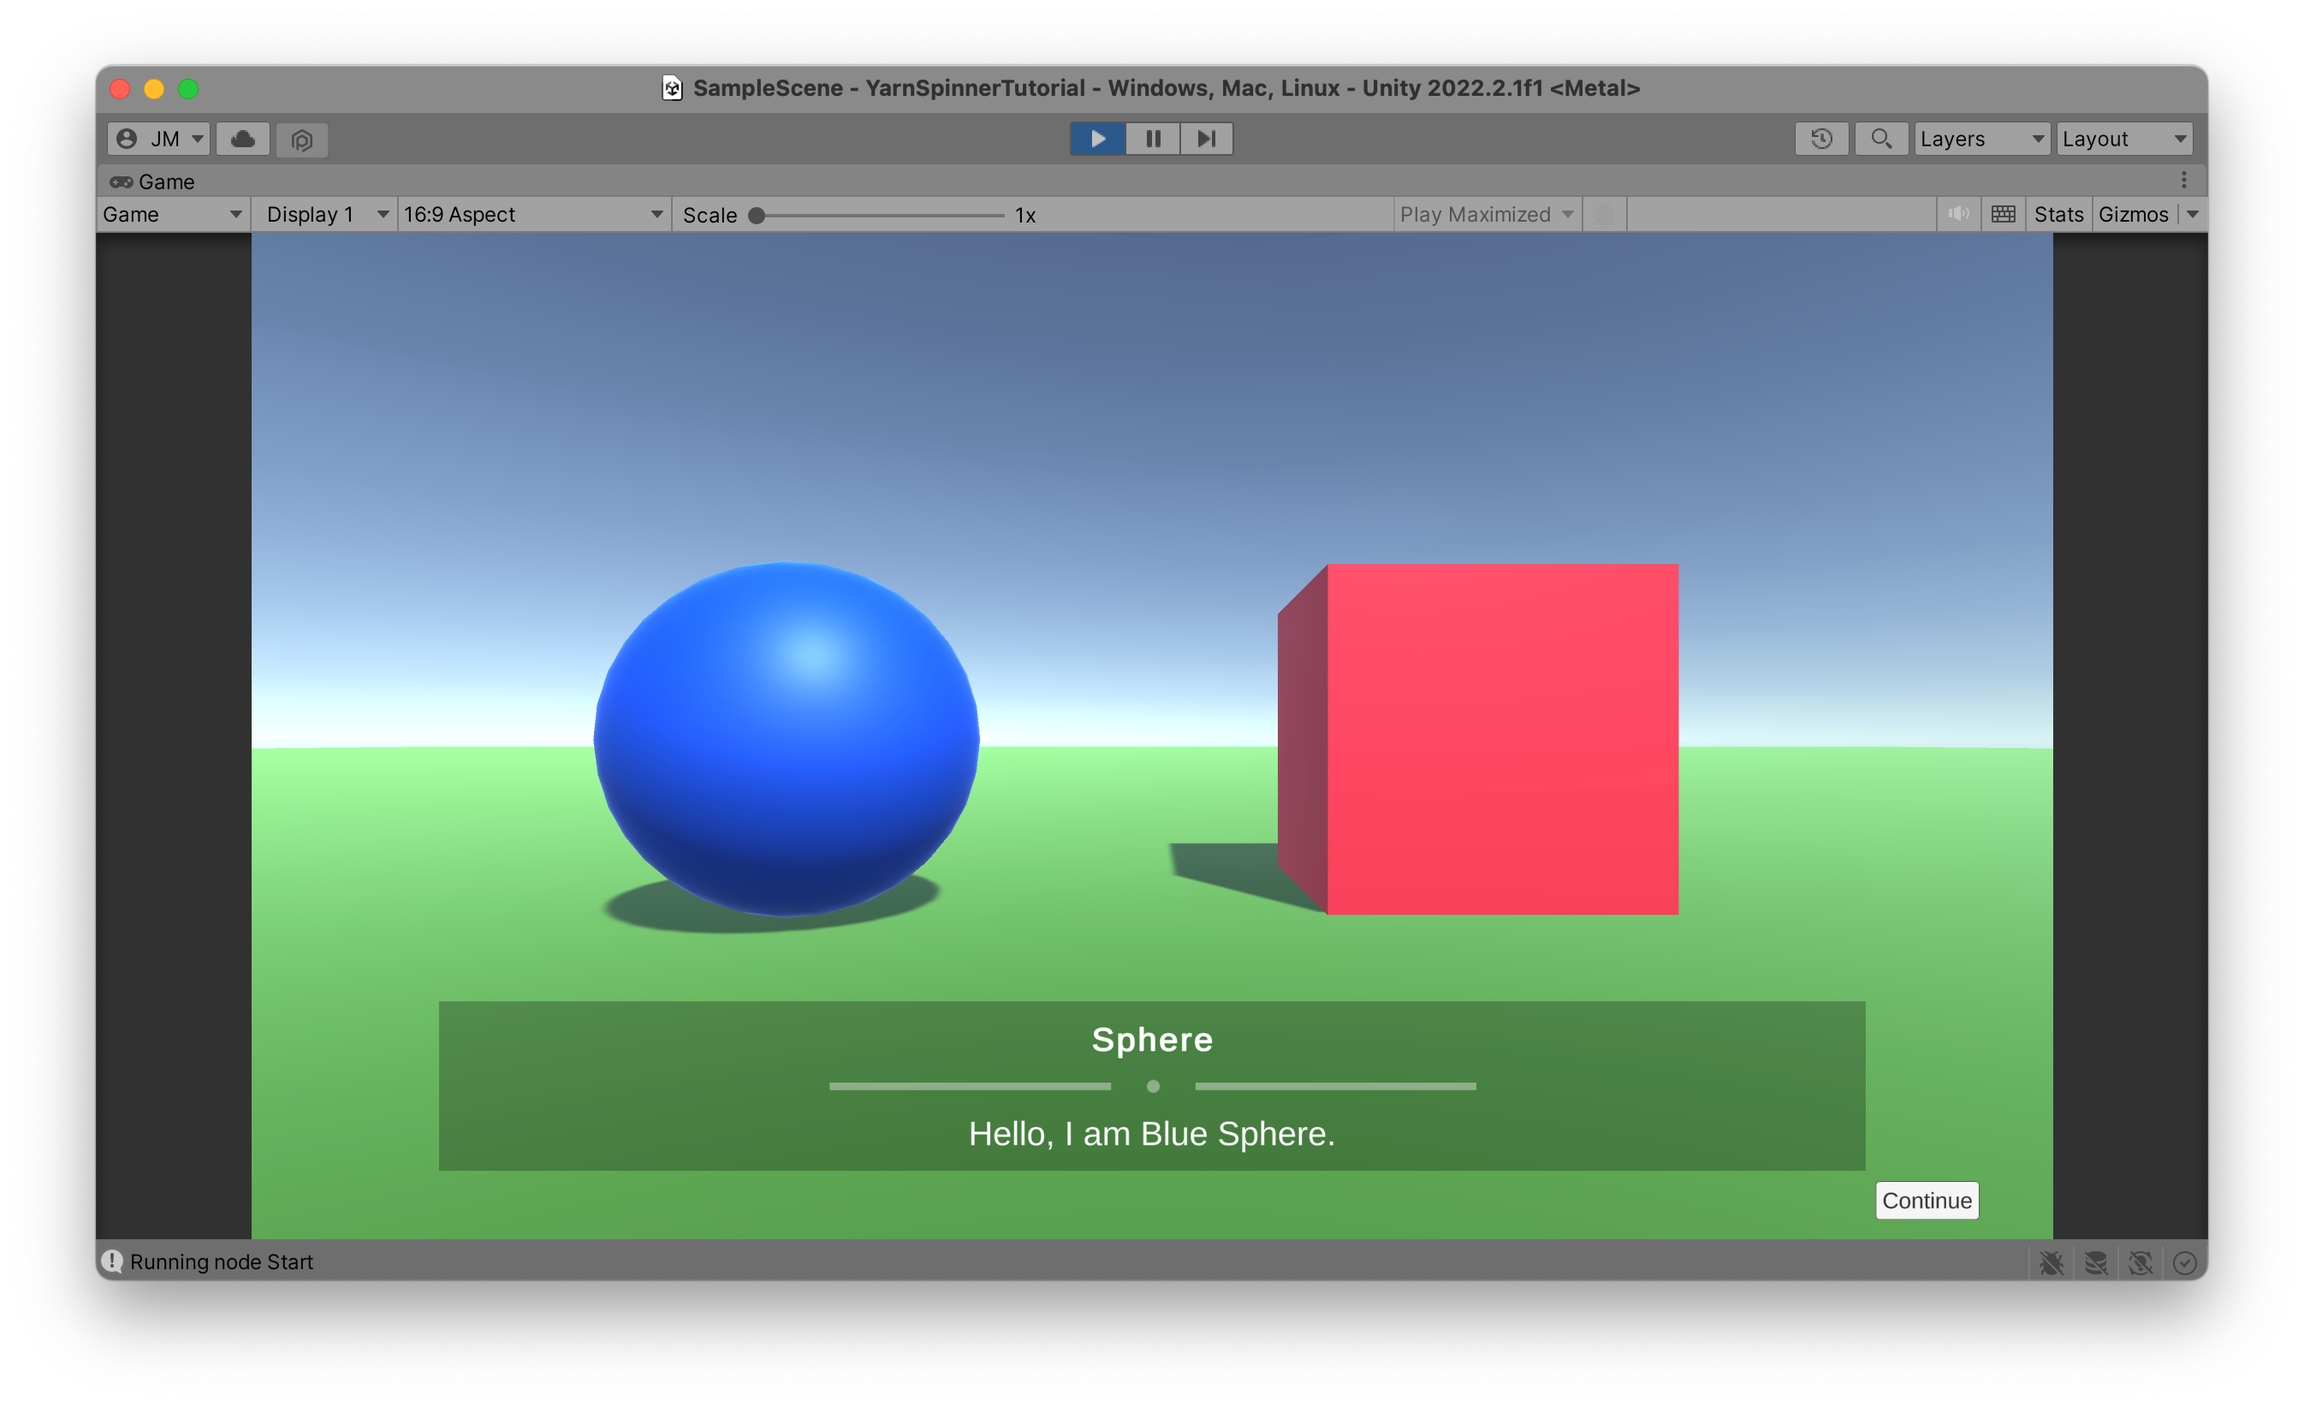
Returning to Unity, pressing the ▶️ button results in the test line being displayed in front of the empty scene world. Pressing Continue will make the UI disappear, as it has reached the end of the script.
So it's time for the actual writing part. Here, I've opened my new Yarn Script in Visual Studio Code with the Yarn Spinner Extension installed as per the Installation Instructions. I've written a simple script about a conversation between a blue sphere 🔵, a red cube 🟥 and the player who plays a shape of their choice. Depending on how the player responds to their greeting, the other shapes will either be pleased to meet them or decide they are rude.
You can find this example script below to copy. Or if you need a refresher on how to represent your own story in Yarn, refer to the Syntax and File Structure guide.
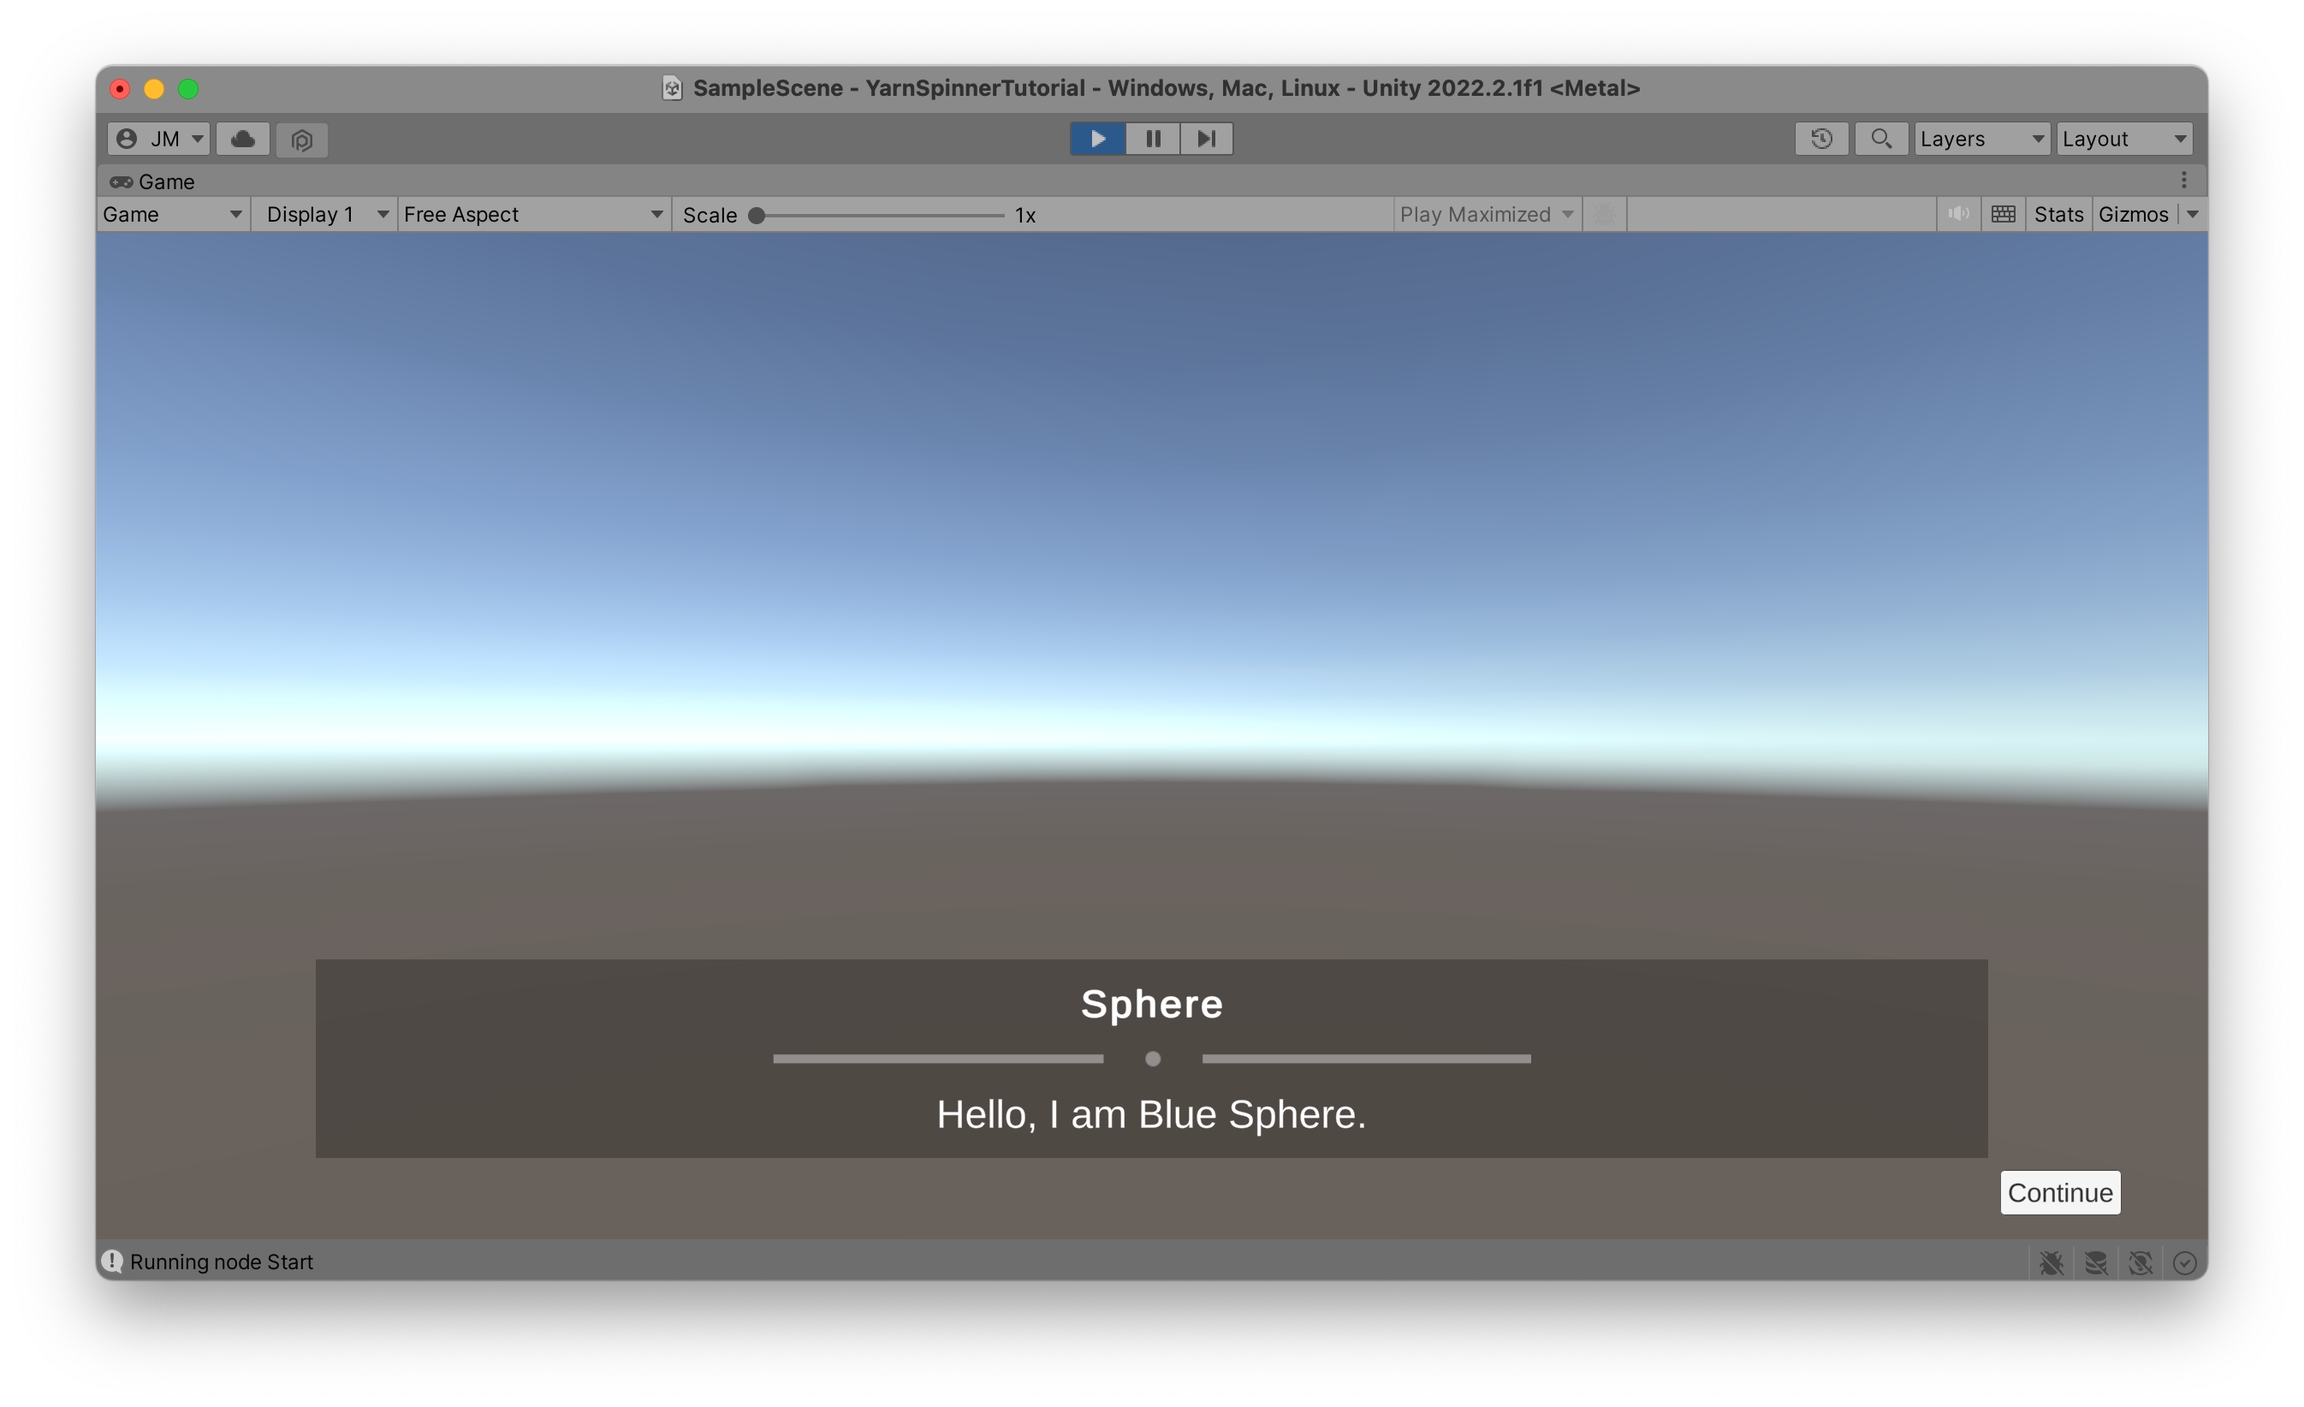
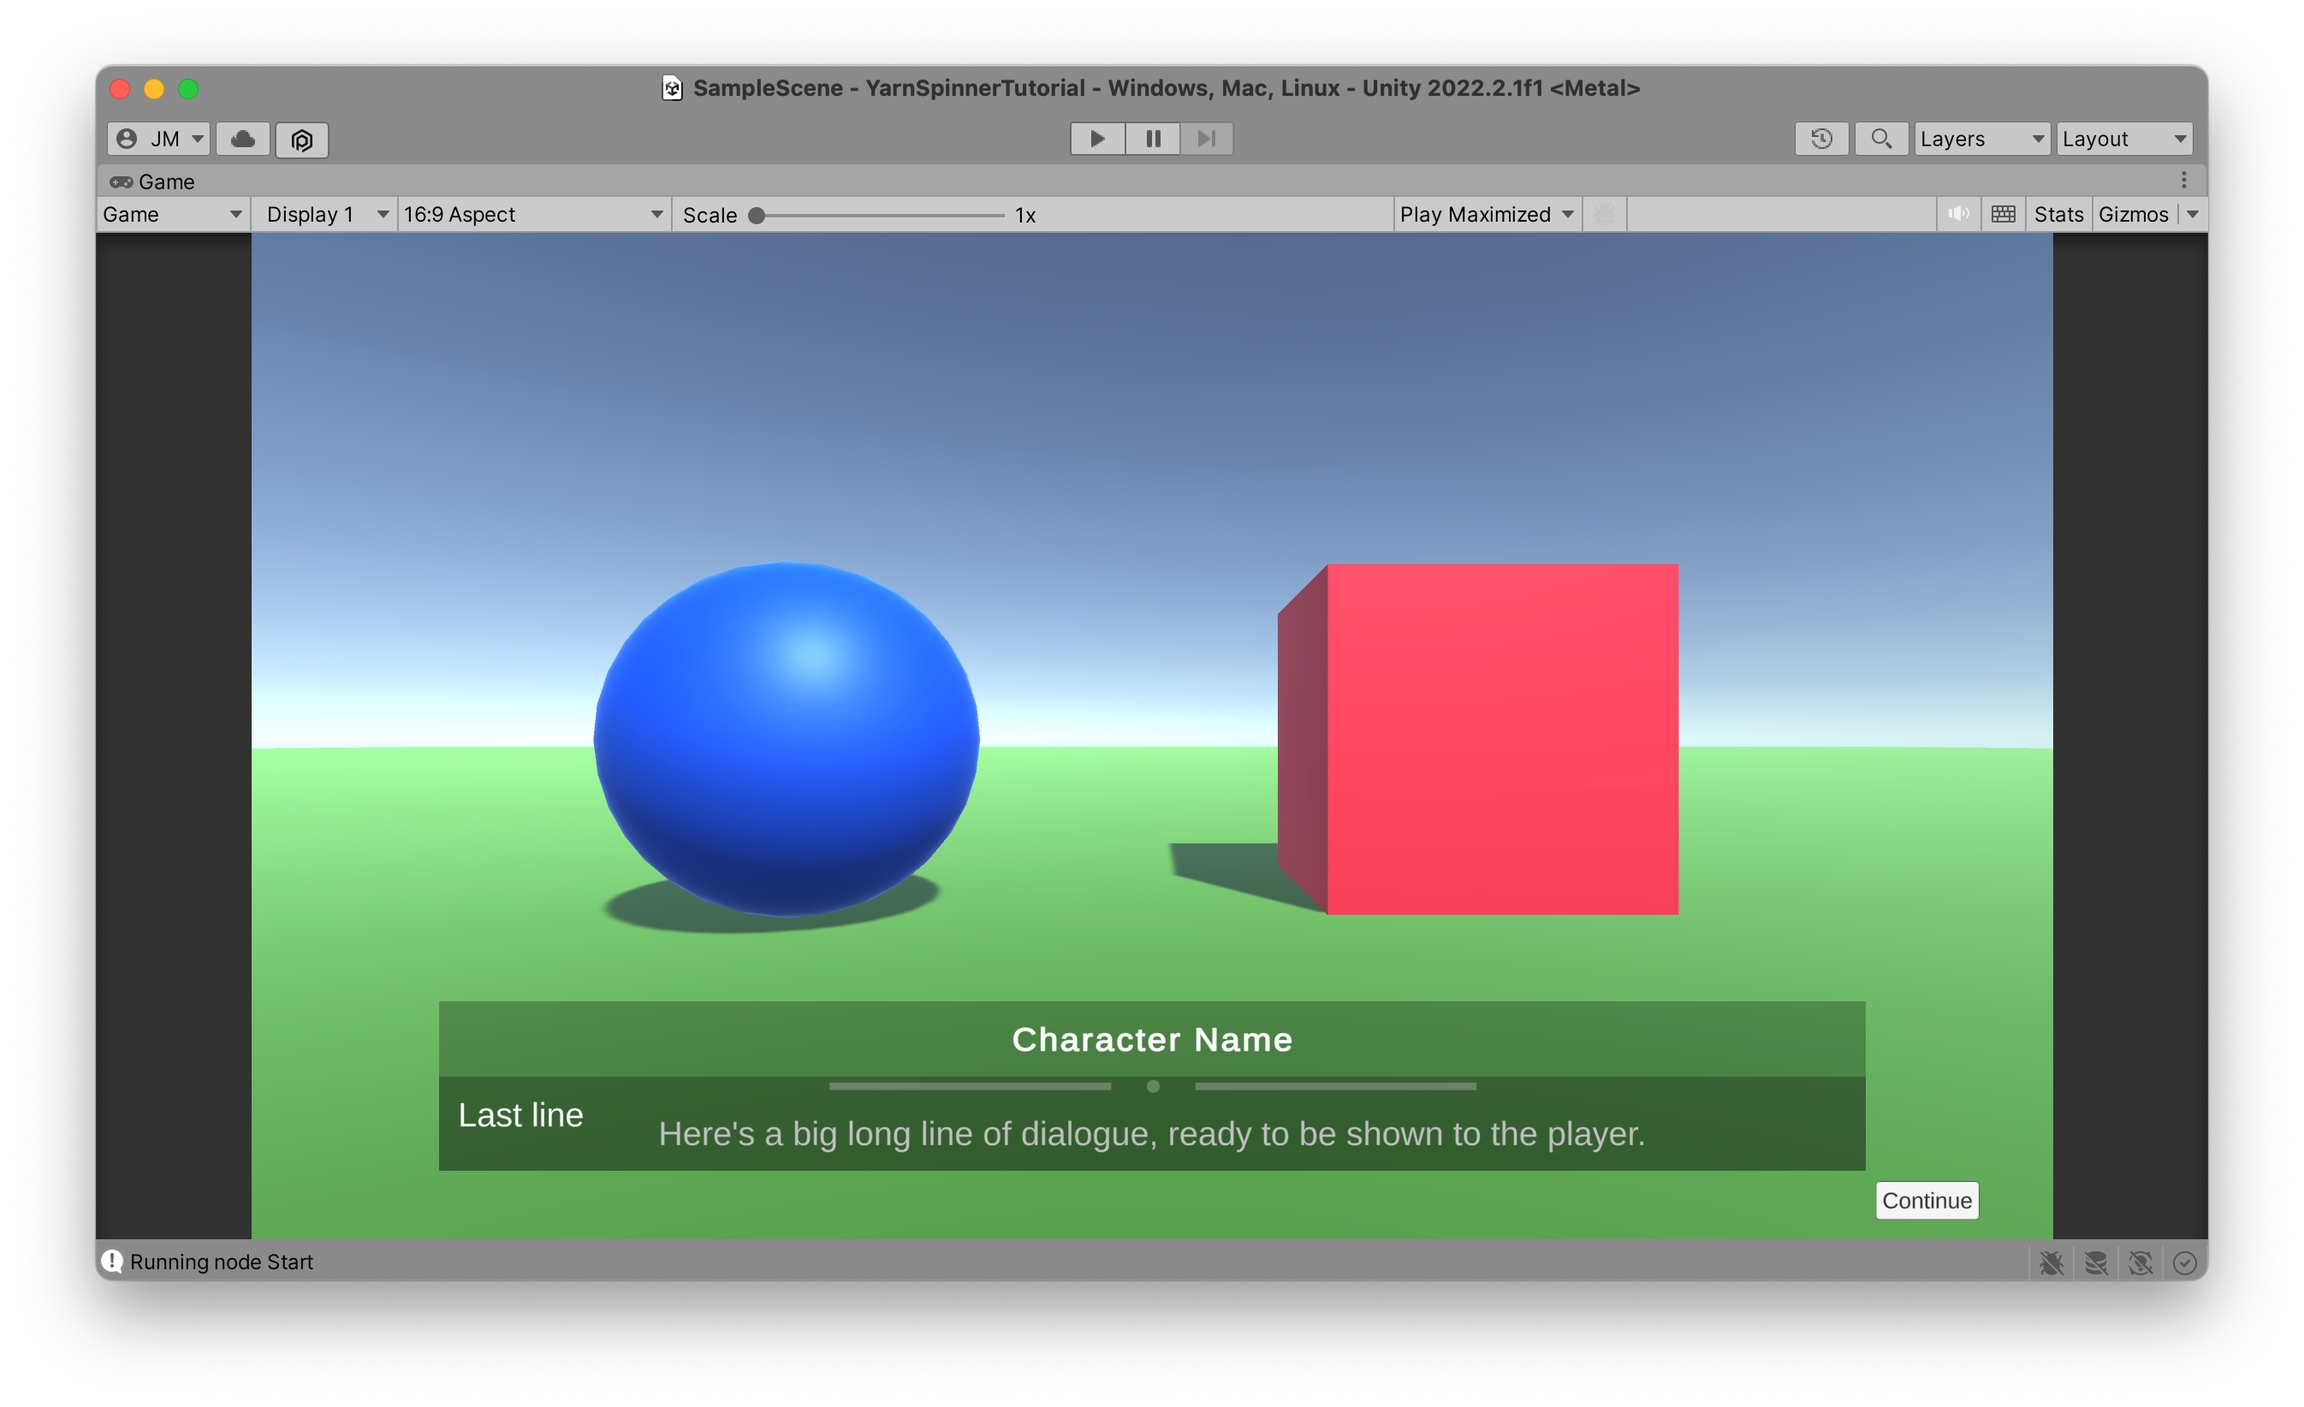
Once you've got a basic story, pop back into Unity and check the basics:
Once any desired visual assets have been added to the scene and the story has received any necessary fleshing out, the game is complete. If you've used this example to add dialogue to your own scene, you may skip ahead to Result. Otherwise, let's proceed!
For the shape example, let's add some "characters" to the scene. Use Menu > GameObject > 3D Object to add a Sphere, a Cube and a Plane to the scene. Scale up the Plane by adjusting the values in the Inspector to Scale = 10, 10, 10. To put the Sphere and Cube in front of the camera and make the Plane appear as a floor, they'll need to be moved. The following coordinates are about right, using the default location for the Main Camera:
Main Camera
0
1
-10
Sphere
-1
1
-7.5
Cube
1
1
-7
Plane
0
0.5
0
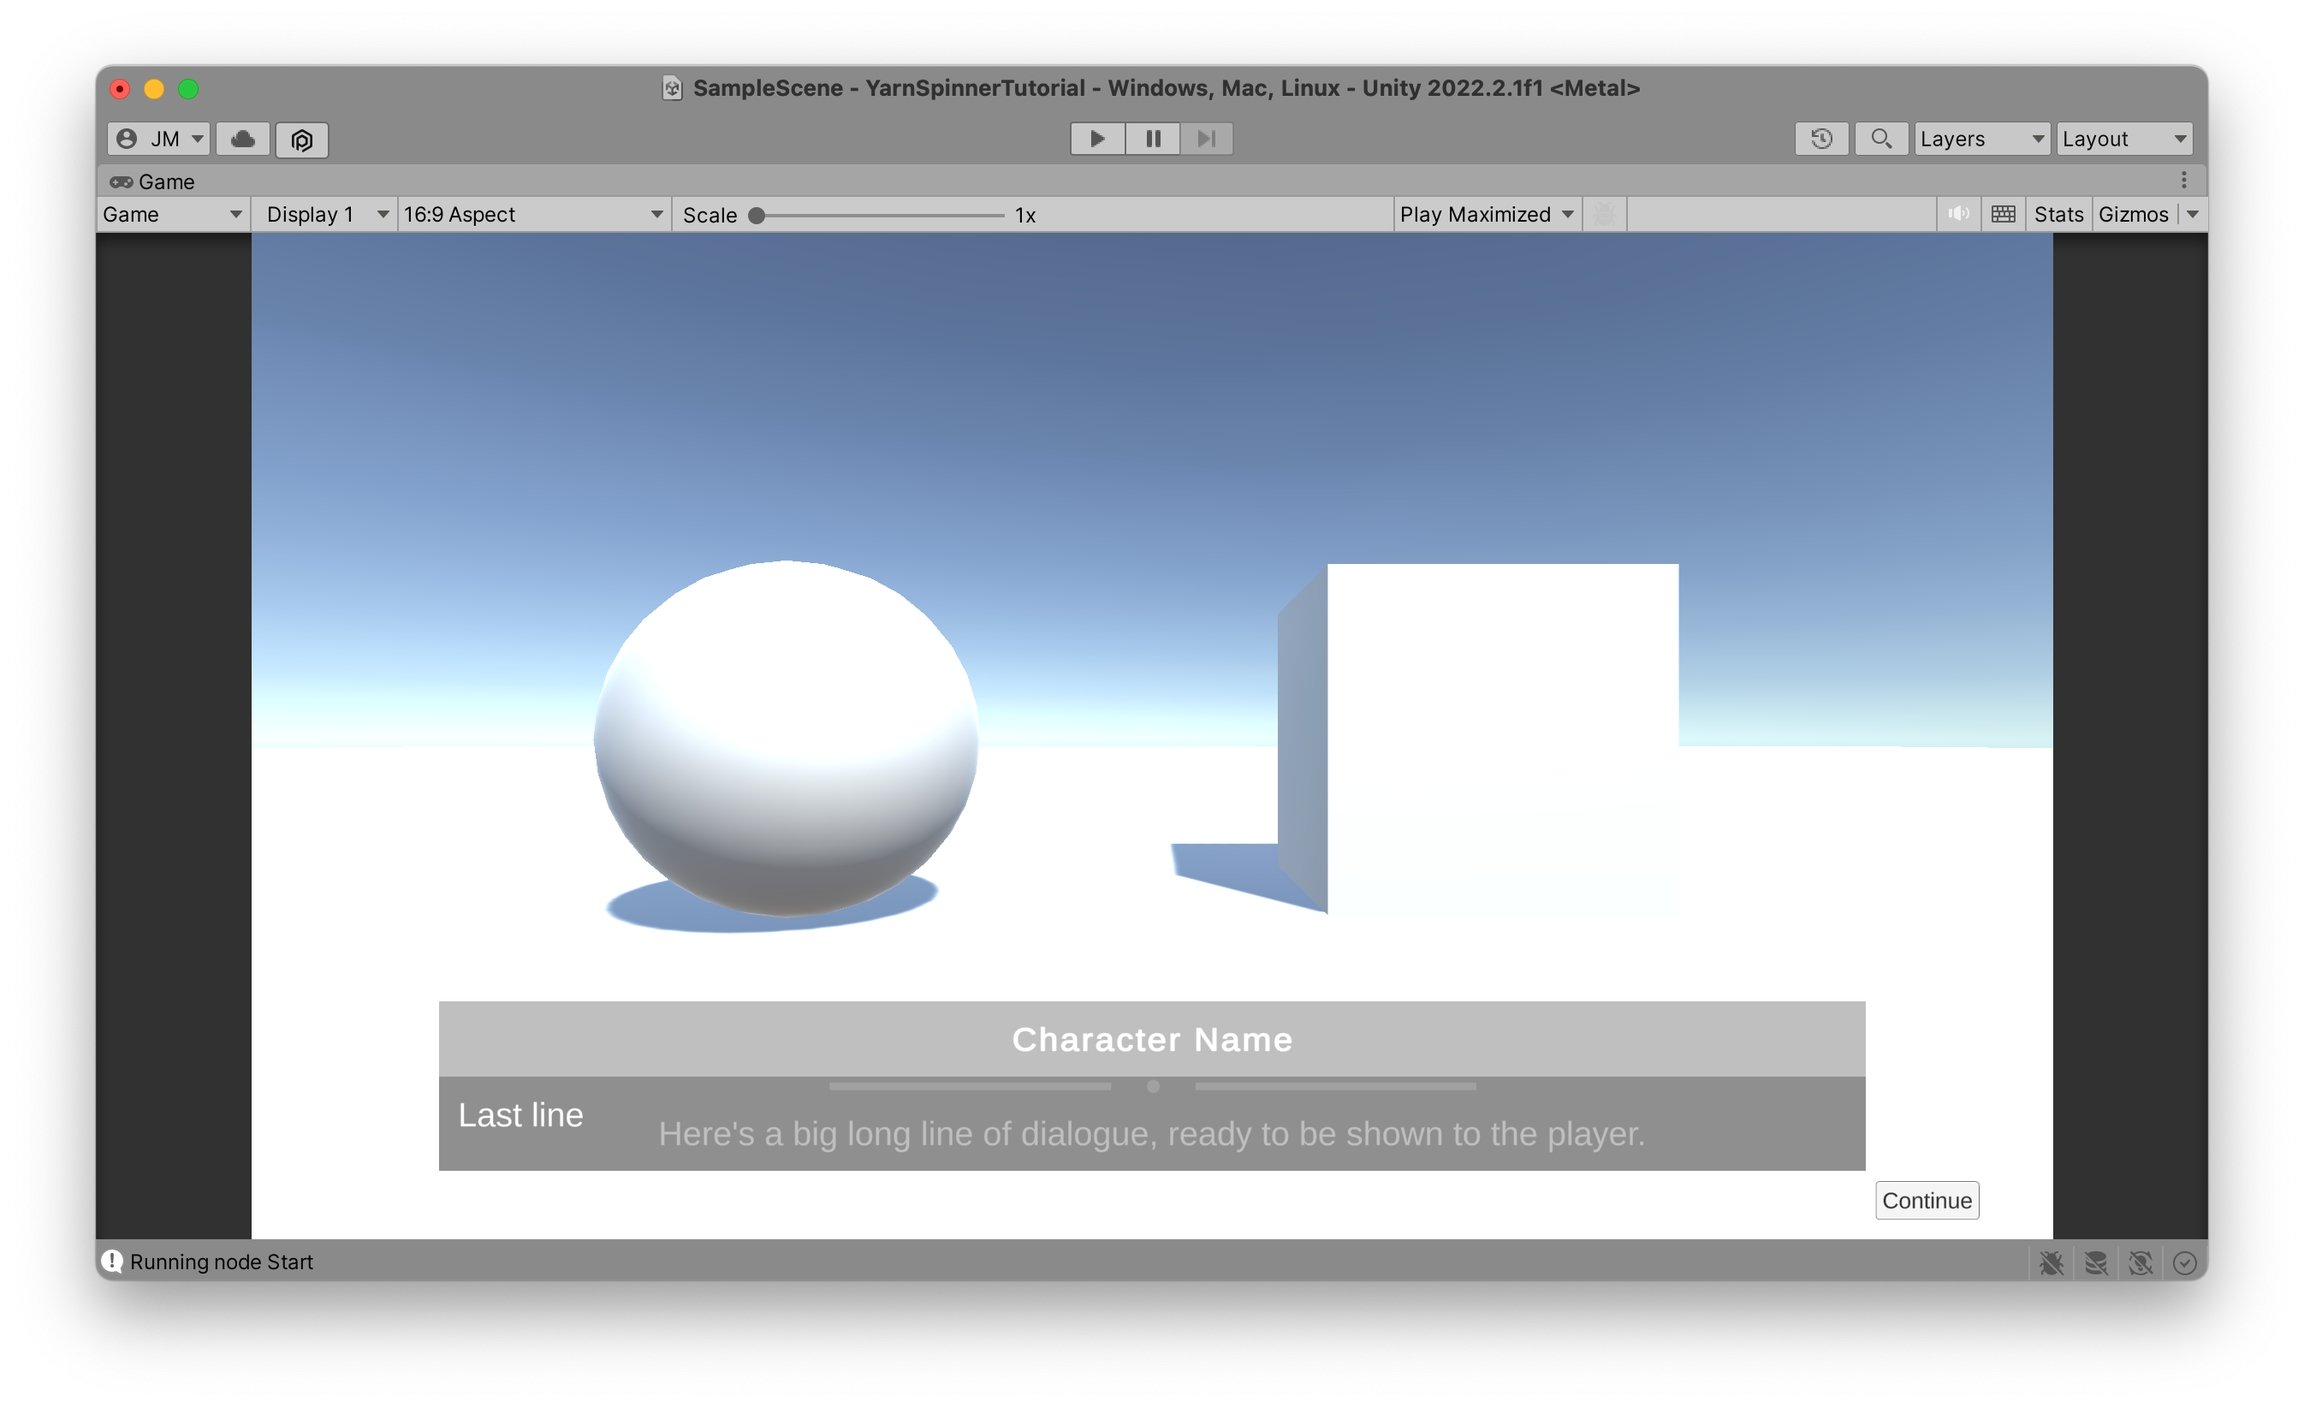
Looking to the Game view, this should appear as two shapes on a floor with the dialogue UI in front.
All this white makes them difficult to distinguish though, so let's colour each Object. Create basic Materials for each by right-clicking the Project Window in the desired file location and select Create > Material three times. Change the colour of each Material to three distinct colours by modifying the Albedo value in the Inspector.
Add a Material to each Object by selecting the desired object and dragging the Material into the Materials > Element 0 under Mesh Renderer in the Inspector.
This tutorial isn't here to teach you all of Unity. If you need some guidance about aspects outside of Yarn Spinner, you can check out our books on the topic or there are lots of helpful guides around the web, on YouTube, or created by Unity themselves!
A playable branching story game with simple static visuals.
An easy way to spice this up is to just add more dialogue with the same characters. Here is an example script that shows how a simple starter script made for testing can grow to a fuller conversation. And it doesn't stop there! Yarn Spinner is perfect for allowing growing projects to remain functional throughout.
Now, let's move onto an example where Yarn Spinner leverages the power of Unity to change things in the scene as well as running dialogue...

