The third step in our three-step beginner's guide to Yarn Spinner: making games in a game engine powered by Yarn.
For this final step in the beginner's guide, you can choose your preferred engine:
Yarn Spinner for Unreal (5.1 or newer, coming Late-2023)
We also provide experimental Yarn Labs support for:
Unreal support is currently in testing. Official release, along with tutorials, in late-2023. Join the official Yarn Spinner Discord for news and updates, or support us on Patreon.
The third step in our beginner's guide, focusing on getting up and running with Yarn Spinner for Rust using Bevy.
Yarn Spinner for Rust is a Yarn Labs project. It is not fully, or officially supported, and may break, or change at any time.
While Yarn Spinner for Rust is built to be engine-agnostic, the intended way to use it is through an engine-specific wrapper. The currently only supported engine is Bevy. It is a data-oriented game engine using an ECS, which broadly means that you don't look at your game world through the traditional lens of objects mutating the world and each other, but instead see the game as a collection of data attached to various entities that can be queried and manipulated through systems.
This chapter will assume that you are familiar with the basics of Bevy. If you're not there not, try to come back after you've gone through the Bevy Book.
Let's create a new Rust project called hello_yarnspinner. Type the following into your terminal:
Then, let's add our dependencies:
Open up the generated src/main.rs and remove its content. Now let's import our dependencies:
Now on to the main function. Let's start by adding all necessary plugins.
DefaultPlugins is necessary for Bevy to do much at all. YarnSpinnerPlugin sets up all functionality of Yarn Spinner except for any actual graphical interface. In order to see anything on screen, you need a Dialogue View. We are using a simple one provided by the ExampleYarnSpinnerDialogueViewPlugin here.
While we are using a simple example dialogue view we created for you, you can also create your own. To learn about this visit Creating Custom Dialogue Views, but do note that it is a significant step from this Beginner's Guide.
Now we need the game to actually do something. We will do this by registering some systems and then running the app. Extend your main function with the following code:
In order to see anything at all, we need a camera in our game world. setup_camera does just that when the game starts:
The line added for the Update system set might look a bit confusing, so let's clear it up before defining the spawn_dialogue_runner function.
When the YarnSpinnerPlugin starts, it searches for Yarn files in the assets/dialogue/ directory. Along with any localizations or extra assets it might find, it bundles its findings into a YarnProject representing your work. Once this process is finished, a YarnProject resource is injected into the world.
A DialogueRunner is the component that is responsible for actually running any piece of Yarn dialogue found inside a YarnProject. If you want to start, stop or change a dialog, you need to use it. You can guess that this only works once the YarnProject has actually finished loading. This is why we use .run_if(resource_added::<YarnProject>()); to wait exactly with spawning the DialogueRunner until everything is ready.
With that out of the way, let's look at the definition of spawn_dialogue_runner:
This code will not spawn the DialogueRunner, but tells it to immediately run a node called "Start" from a Yarn file.
Create a file inside assets/dialogue/ called my_story.yarn. Open it and fill it like this:
Now you can simply run cargo run in your terminal and enjoy your freshly created dialog:
If anything went wrong, make sure that your directories look like this:
Your src/main.rs should look like this:
And your Cargo.toml should look like this:
With that, we've reached the end of our beginner's guide. You're ready go forth and build games with Yarn Spinner! You're also equipped to work with the rest of the documentations here!
Don't forget to join the Discord, to chat with other Yarn Spinner users, the Yarn Spinner team, seek help, and share your work. It might also be worthwhile joining the Bevy Discord (unaffiliated with Yarn Spinner).
The third step in our beginner's guide, focusing on getting up and running with Yarn Spinner for Godot.
Yarn Spinner for Godot is a Yarn Labs project. It is not fully, or officially supported, and may break, or change at any time.
This step of the beginner's guide helps you move from writing Yarn scripts outside of a game engine, to initial integration steps to turn them into a game with Godot
First, launch Godot 4.2 (C# version) and create a new project.
Download a copy of the latest version of Yarn Spinner for Godot from the GitHub repository, or clone the repository somewhere.
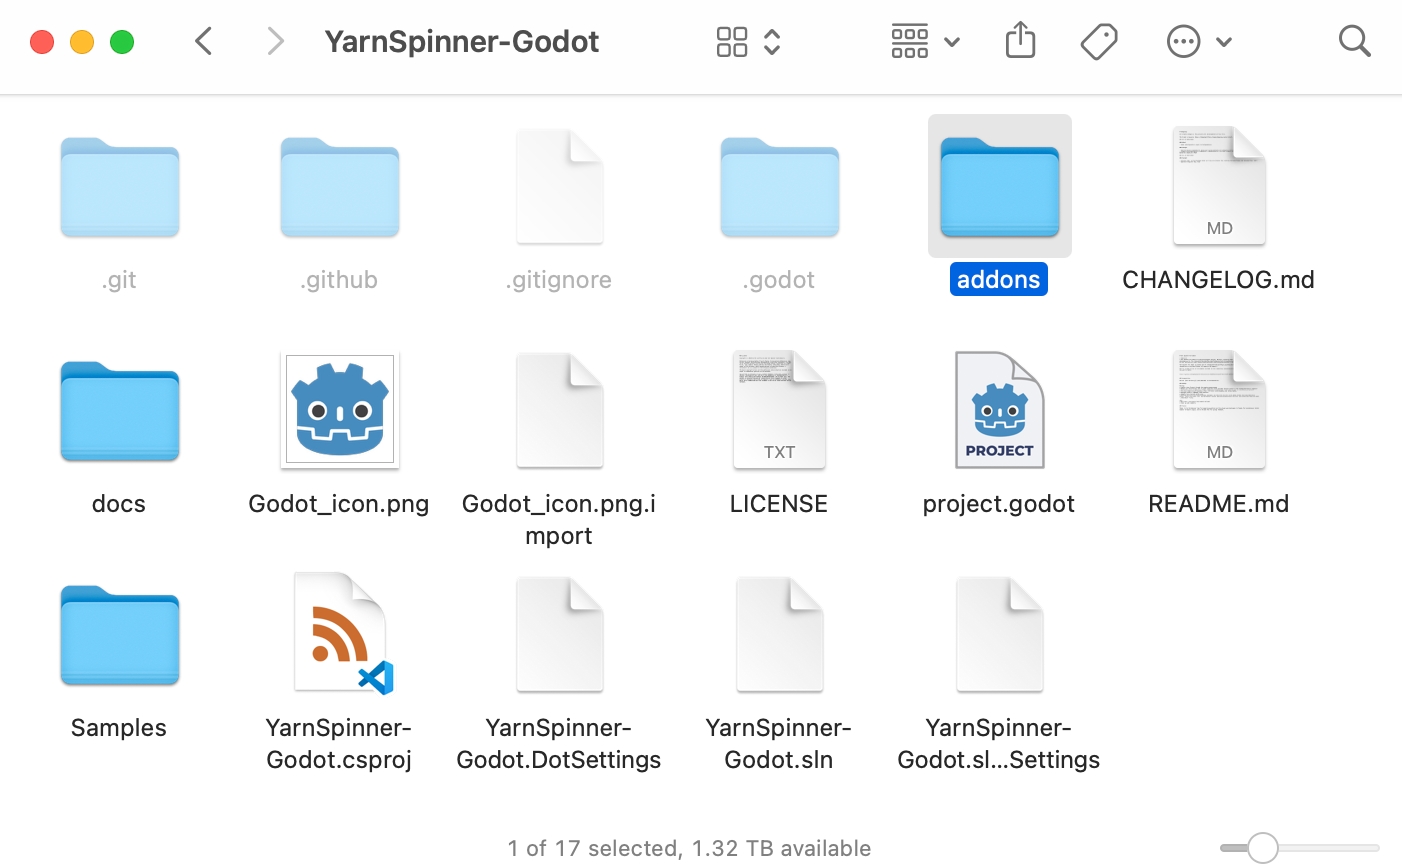
Locate the addons/ directory in your new local copy of Yarn Spinner for Godot:
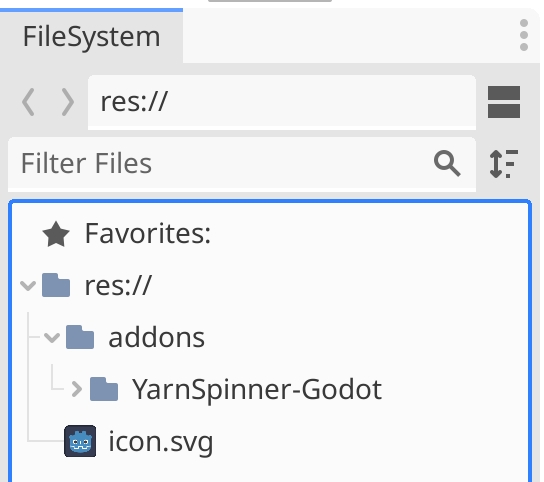
Put a copy of this directory into your new Godot project, either by dragging the folder in your file manager (e.g. Finder or Explorer) into the folder of the Godot project, or by dragging from your file manager into the FileSystem dock of your Godot project:
Next, choose the Project menu -> Tools -> C# -> Create C# solution. This will create a C# project for you. We have to do this to trigger the creation of the .csproj file, which is necessary to let Godot know about the Yarn Spinner plugin.
Next, open the project folder in Visual Studio Code. In the sidebar of VS Code, the .csproj file and add the following line to it, inside the <Project> </Project> tags, but not inside an <ItemGroup> or <PropertyGroup>:
Your brand new project should look something like this in VSCode:
Save the tweaked .csproj file and return to Godot, everything is almost ready to go. Click the Build button in the very top right-hand corner of the Godot window. This will trigger a build of the C# solution for the project, which is required to make Godot aware of Yarn Spinner for Godot.
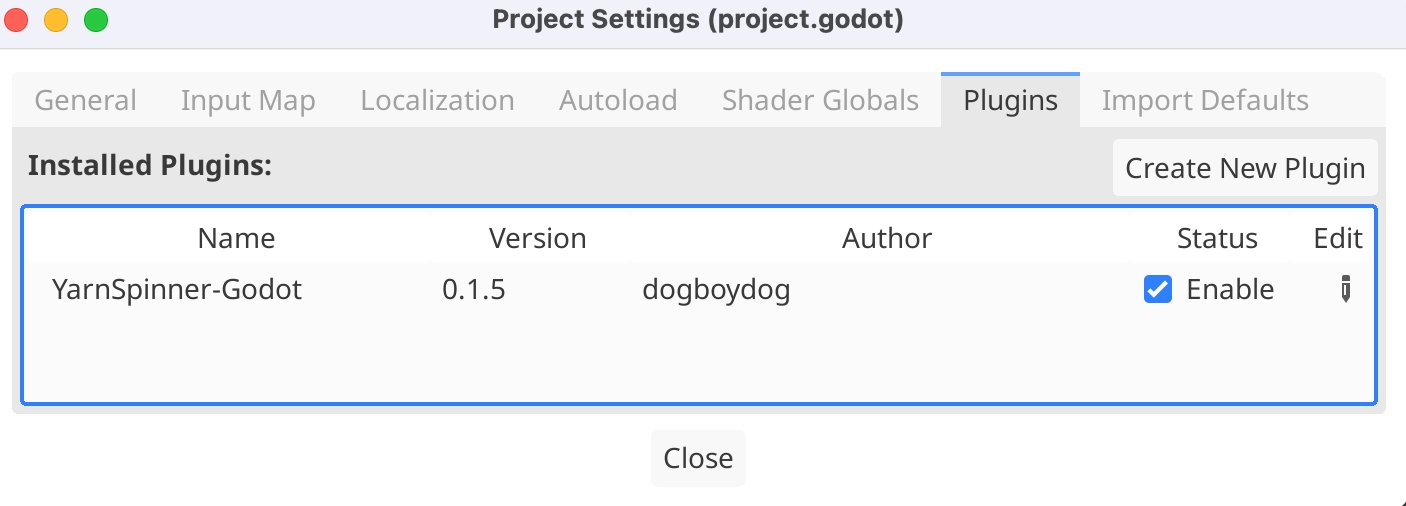
Once the build is complete, open the Project menu -> Project Settings, change to the Plugins tab, and tick the enabled box next to the Yarn Spinner for Godot plugin:
With that, you're ready to go!
In your Godot project, click the Instantiate Child Scene button:
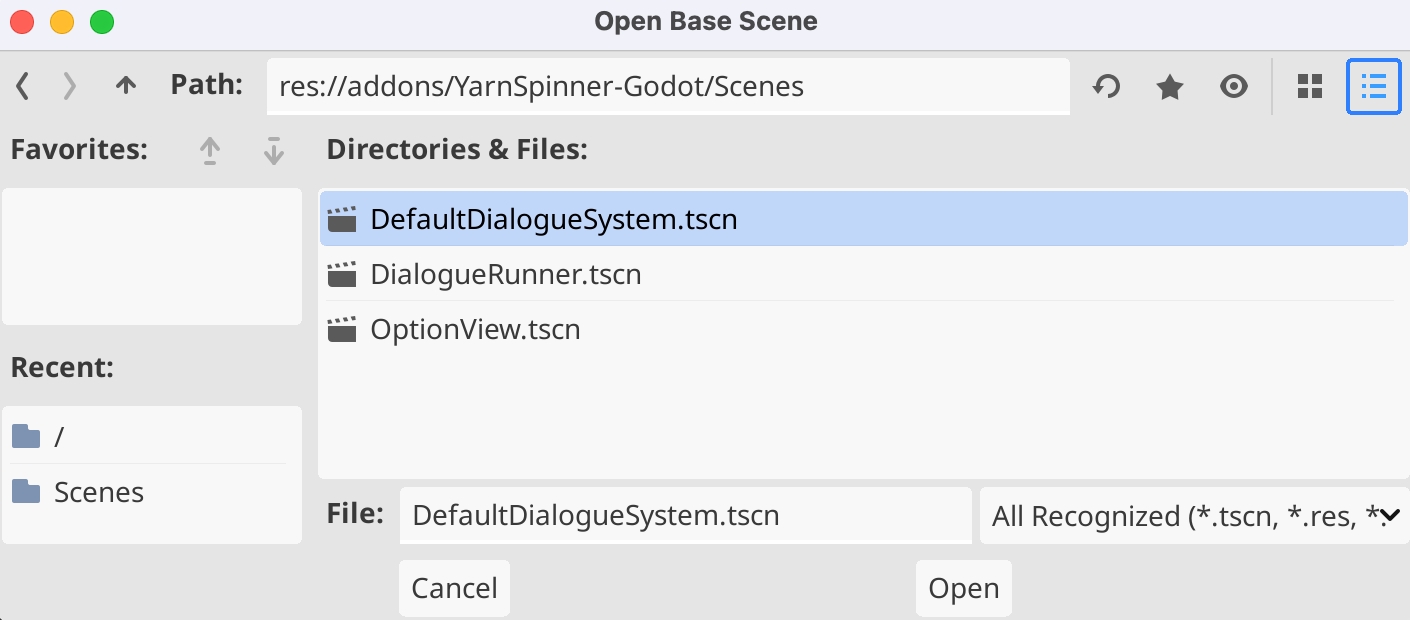
And navigate into the addons/YarnSpinner-Godot/Scenes folder of your project, and choose the DefaultDialogueSystem.tscn file as the scene to instantiate:
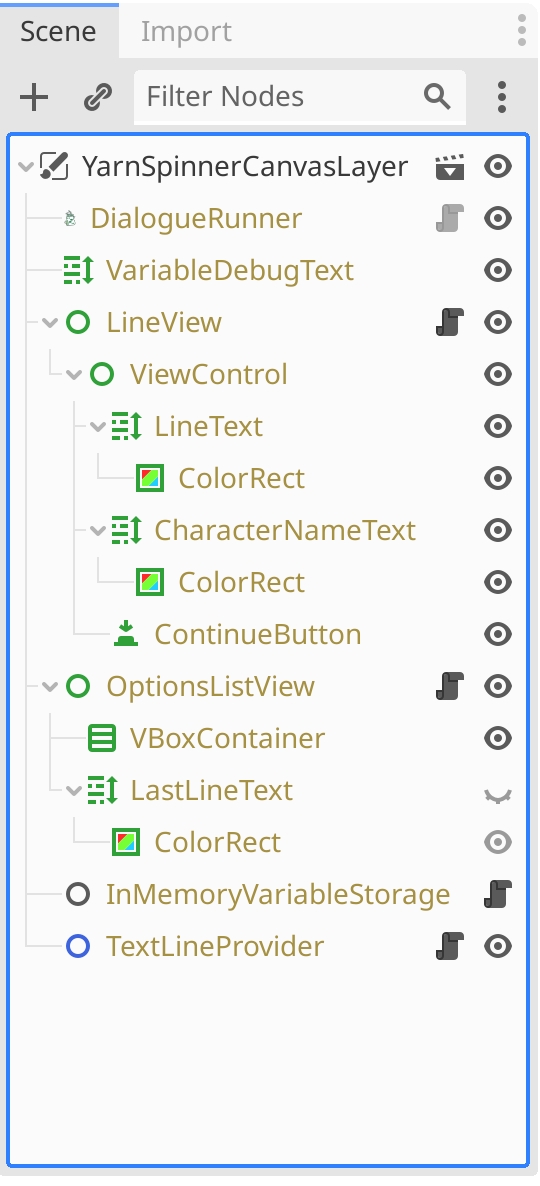
Your Scene dock will look like this showing a node hierarchy that's entirely based on the DefaultDialogueSystem.tscn scene that you instantiated:
You could also instantiate the DefaultDialogueSystem.tscn into your scene at a lower part of the hierarchy, instead of the root node, to display dialogue using the provided default UI, instead.
Next, create a new Yarn Project using the menu Tools > YarnSpinner >Create Yarn Project:
Then choose a directory to save your new YarnProject in. For example, you can save it to the root of your project. Name the new Yarn Project FirstProject.yarnproject:
Next, create a new Yarn script (a file with a .yarn extension) by using the menu Tools > YarnSpinner >Create Yarn Script. In the resulting "Create a new Yarn Script" window, set the File name to MyStory.yarn, and click the Save button::
It may take a moment, but Godot will import your new .yarn file, and it will appear in the FileSystem dock. When it's appeared, double-click on the Yarn Project, FirstProject.yarnproject in the FileSystem dock and look to the Inspector, making sure that res://MyStory.yarn is in the list of Source Scripts, which are the Yarn scripts that compromise the new project:
Next, open the MyStory.yarn file in VS Code, and add the following Yarn script to it, before saving it and returning to Godot:
Select the DialogueRunner node in the Scene dock, and look to the Inspector. Assign the Yarn Project you created to the DialogueRunner by dragging the FirstProject.tres Yarn Project from the FileSystem dock into the Yarn Project slot of the Inspector:
Finally, enter Start as the Start Node, and tick the box next to Starts Automatically:
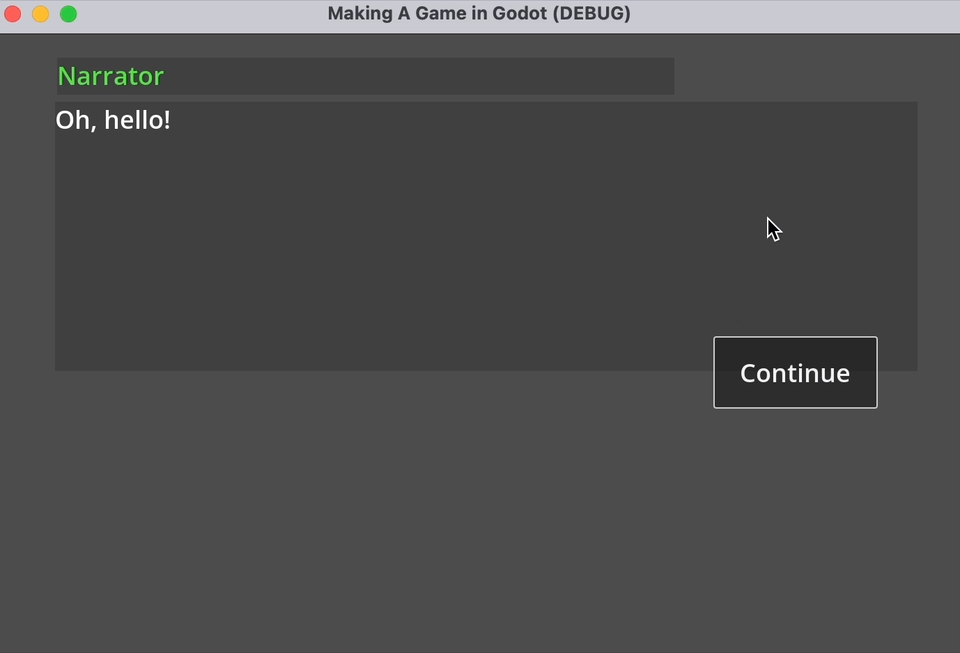
Save your scene as Demo.tscn, and run the game. At this point, you can play your project, and step through the dialogue in the default Yarn Spinner for Godot Line View and Options List View:
With that, we've reached the end of our beginner's guide. You're ready go forth and build games with Yarn Spinner! You're also equipped to work with the rest of the documentations here! Don't forget to join the Discord to chat with other Yarn Spinner users, the Yarn Spinner team, seek help, and share your work. \
.csproj for your project.The third step in our beginner's guide, focusing on getting up and running with Yarn Spinner for Unity.
This step of the beginner's guide helps you move from writing Yarn scripts outside of a game engine, to initial integration steps to turn them into a game with Unity.
First, launch the Unity Hub, and create a new project for Unity 2021.3 or newer. Then, download and install Yarn Spinner.
You can download and install Yarn Spinner for Unity in four different ways:
buy Yarn Spinner for Unity from our Itch.io store, download it, and add the package to your project from the .unitypackage
buy Yarn Spinner from the Unity Asset Store, download it, and install it via Unity
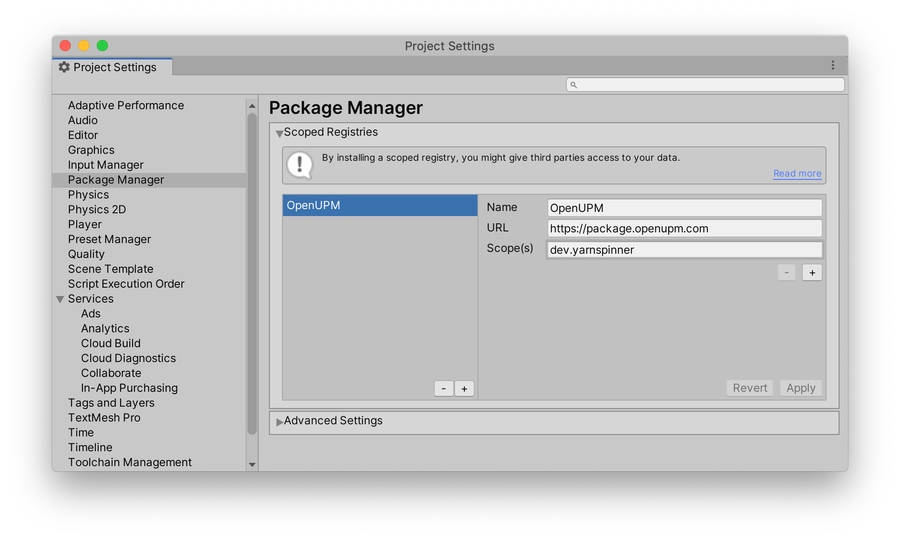
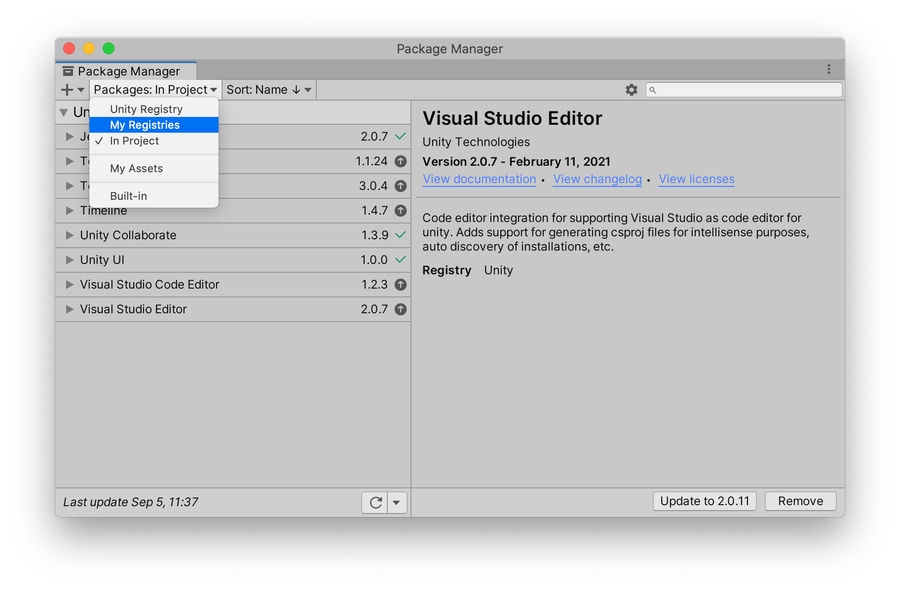
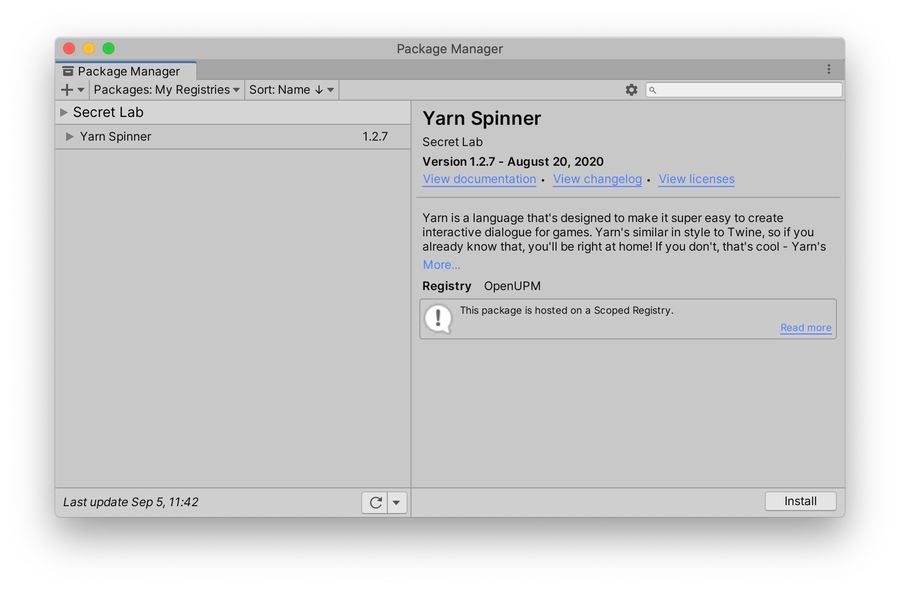
install Yarn Spinner for Unity via the Unity Package Manager
install Yarn Spinner for Unity from GitHub
Yarn Spinner is an open source project. You can directly support the Yarn Spinner Team by purchasing Yarn Spinner from Itch or the Unity Asset Store, but it will always also be available for free. To support the continued development of Yarn Spinner, purchasing Yarn Spinner for Unity from one of the storefronts. This is the best way to directly support the Yarn Spinner team.
First, visit the Yarn Spinner Itch.io Store, and click the Buy Now button, and complete the checkout process.
Once you've purchased Yarn Spinner, you'll find a Download button at the top of the page:
The download button will take you the following page, where you can download the Yarn Spinner for Unity .unitypackage:
Once you've downloaded the .unitypackage, with the Unity project you want to use it in open and ready to go, double click it. Unity will then allow you to import the package into your project:
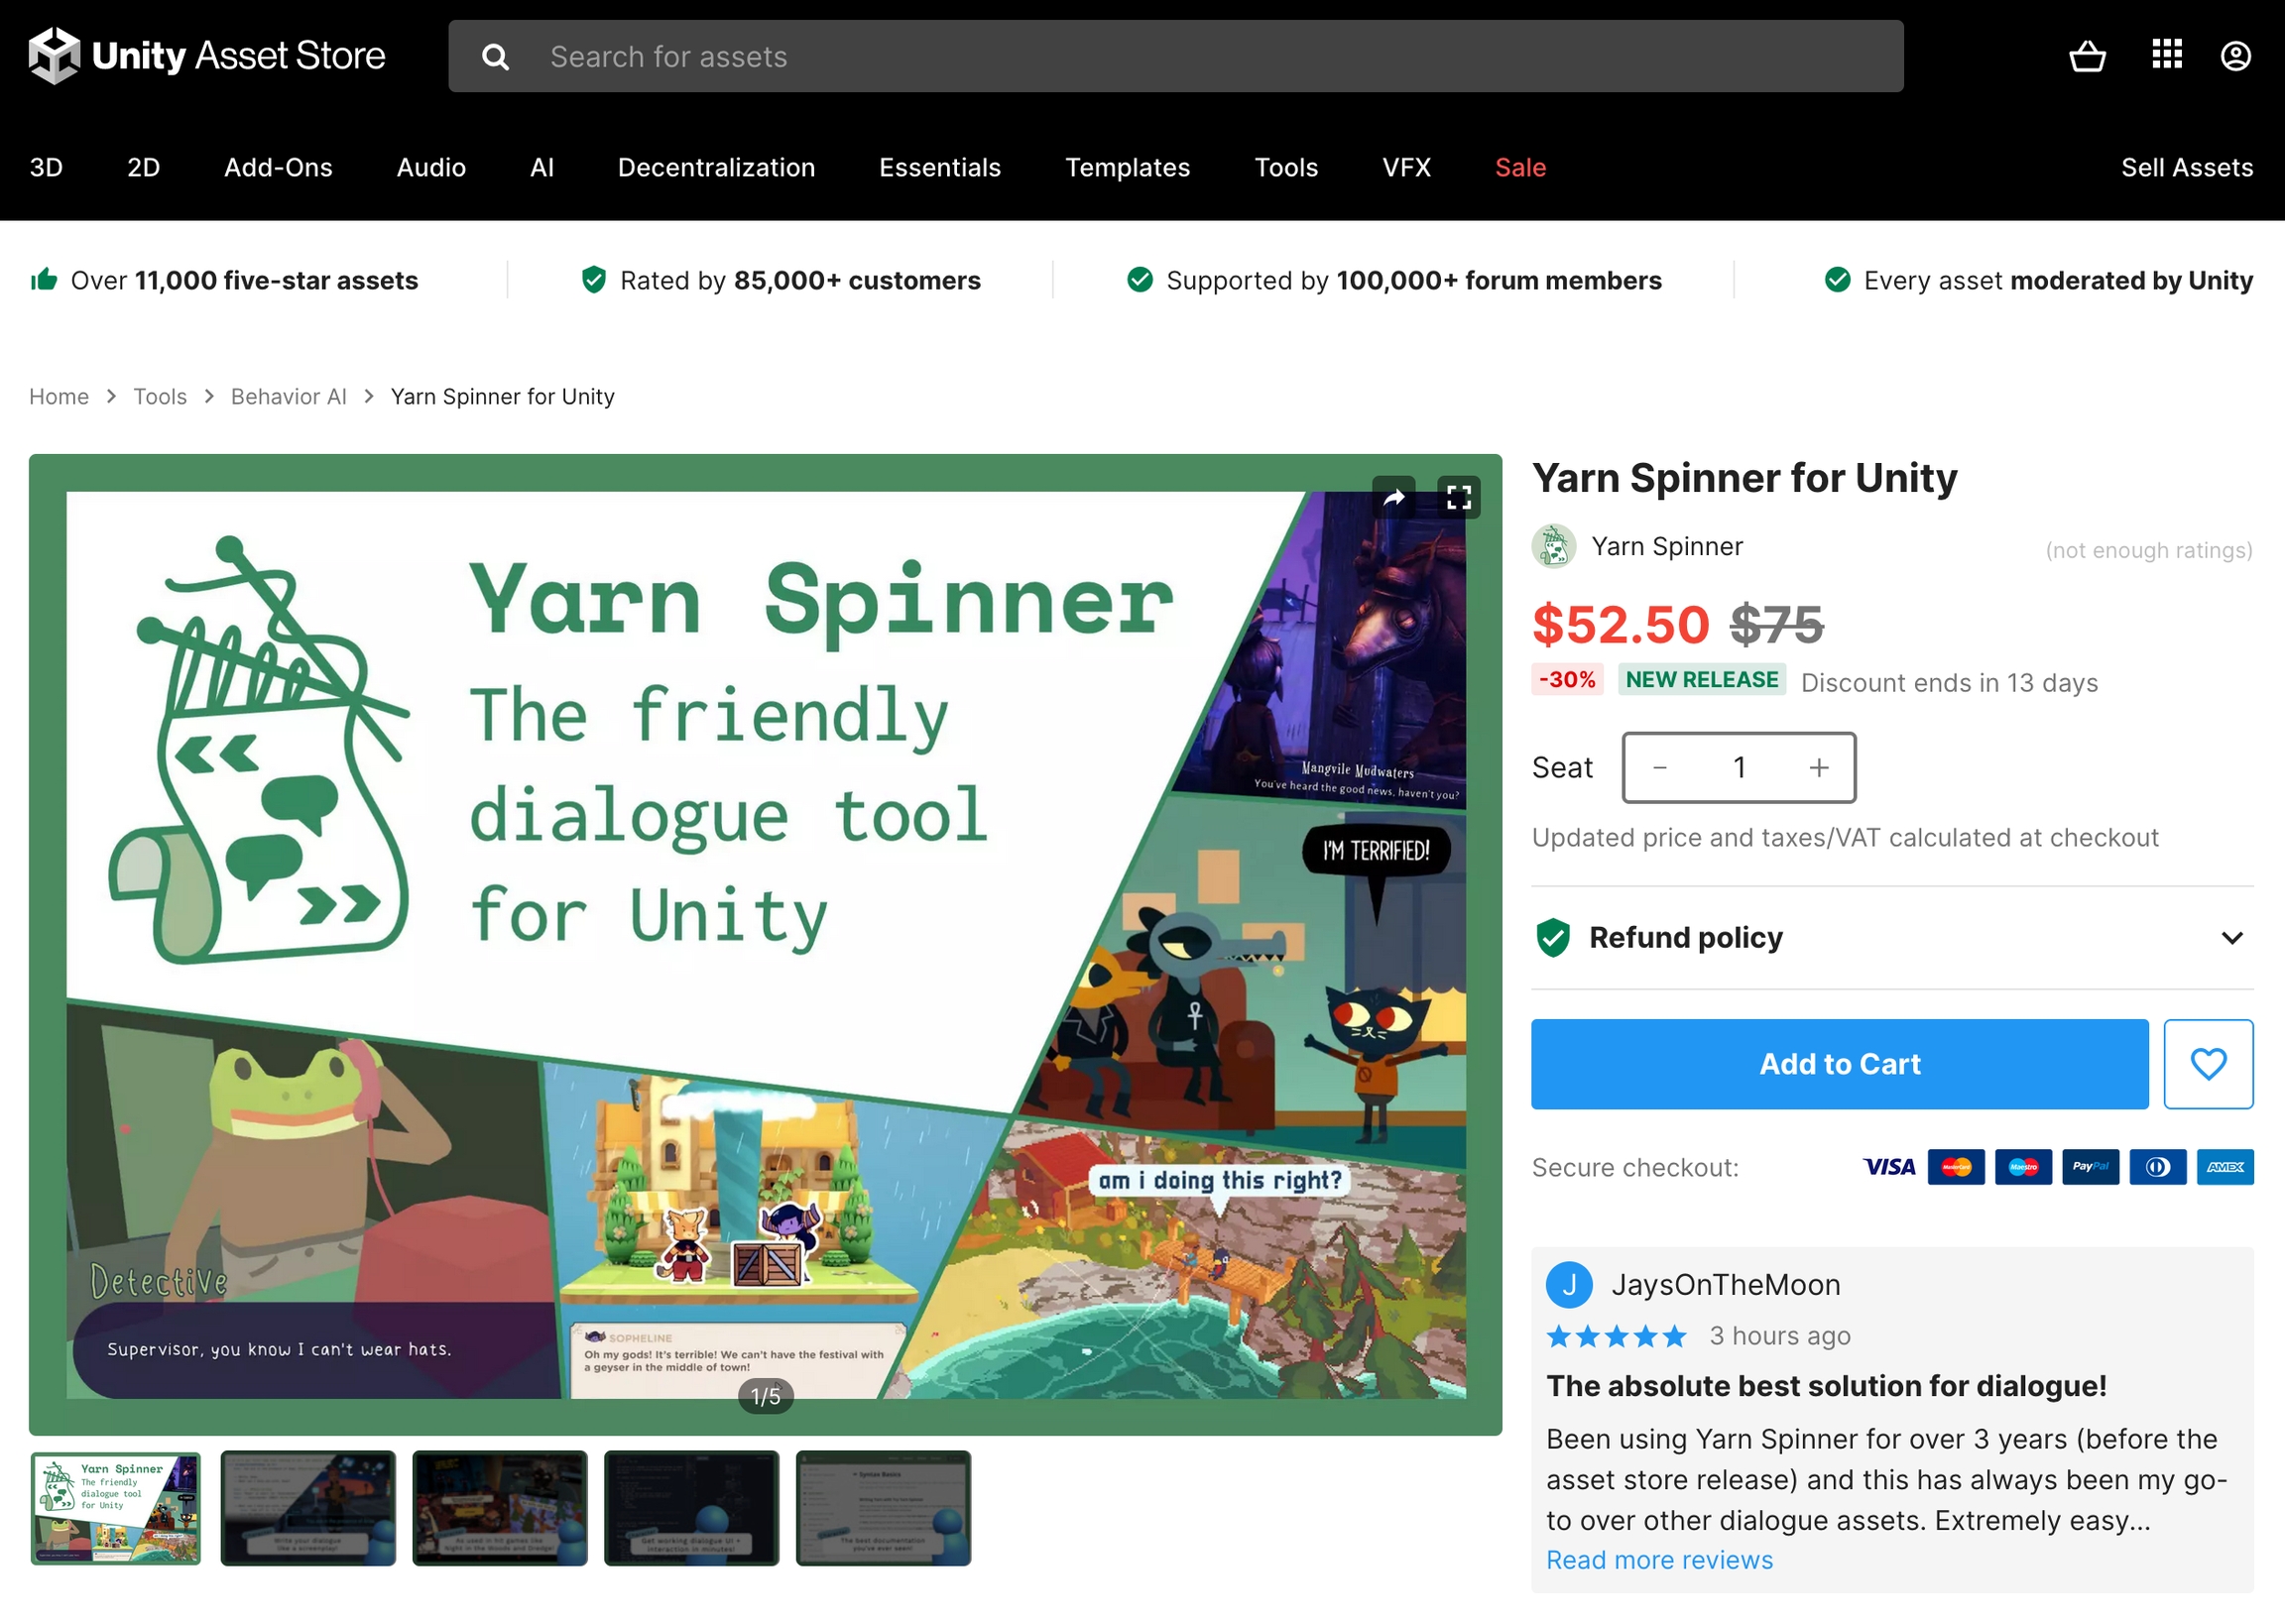
First, visit the Unity Asset Store page for Yarn Spinner for Unity, and add it to your cart, and complete your purchase while logged into the same Unity account you use to activate Unity.
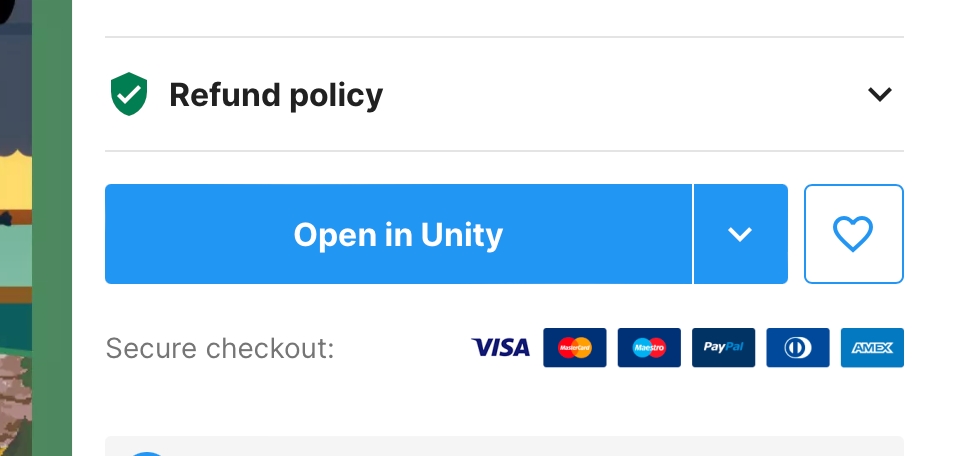
Once you've purchased Yarn Spinner for Unity, you'll find the Add to Cart button replaced by an Open in Unity button. Click this button to launch Unity, and the Package Manager will locate your purchased package:
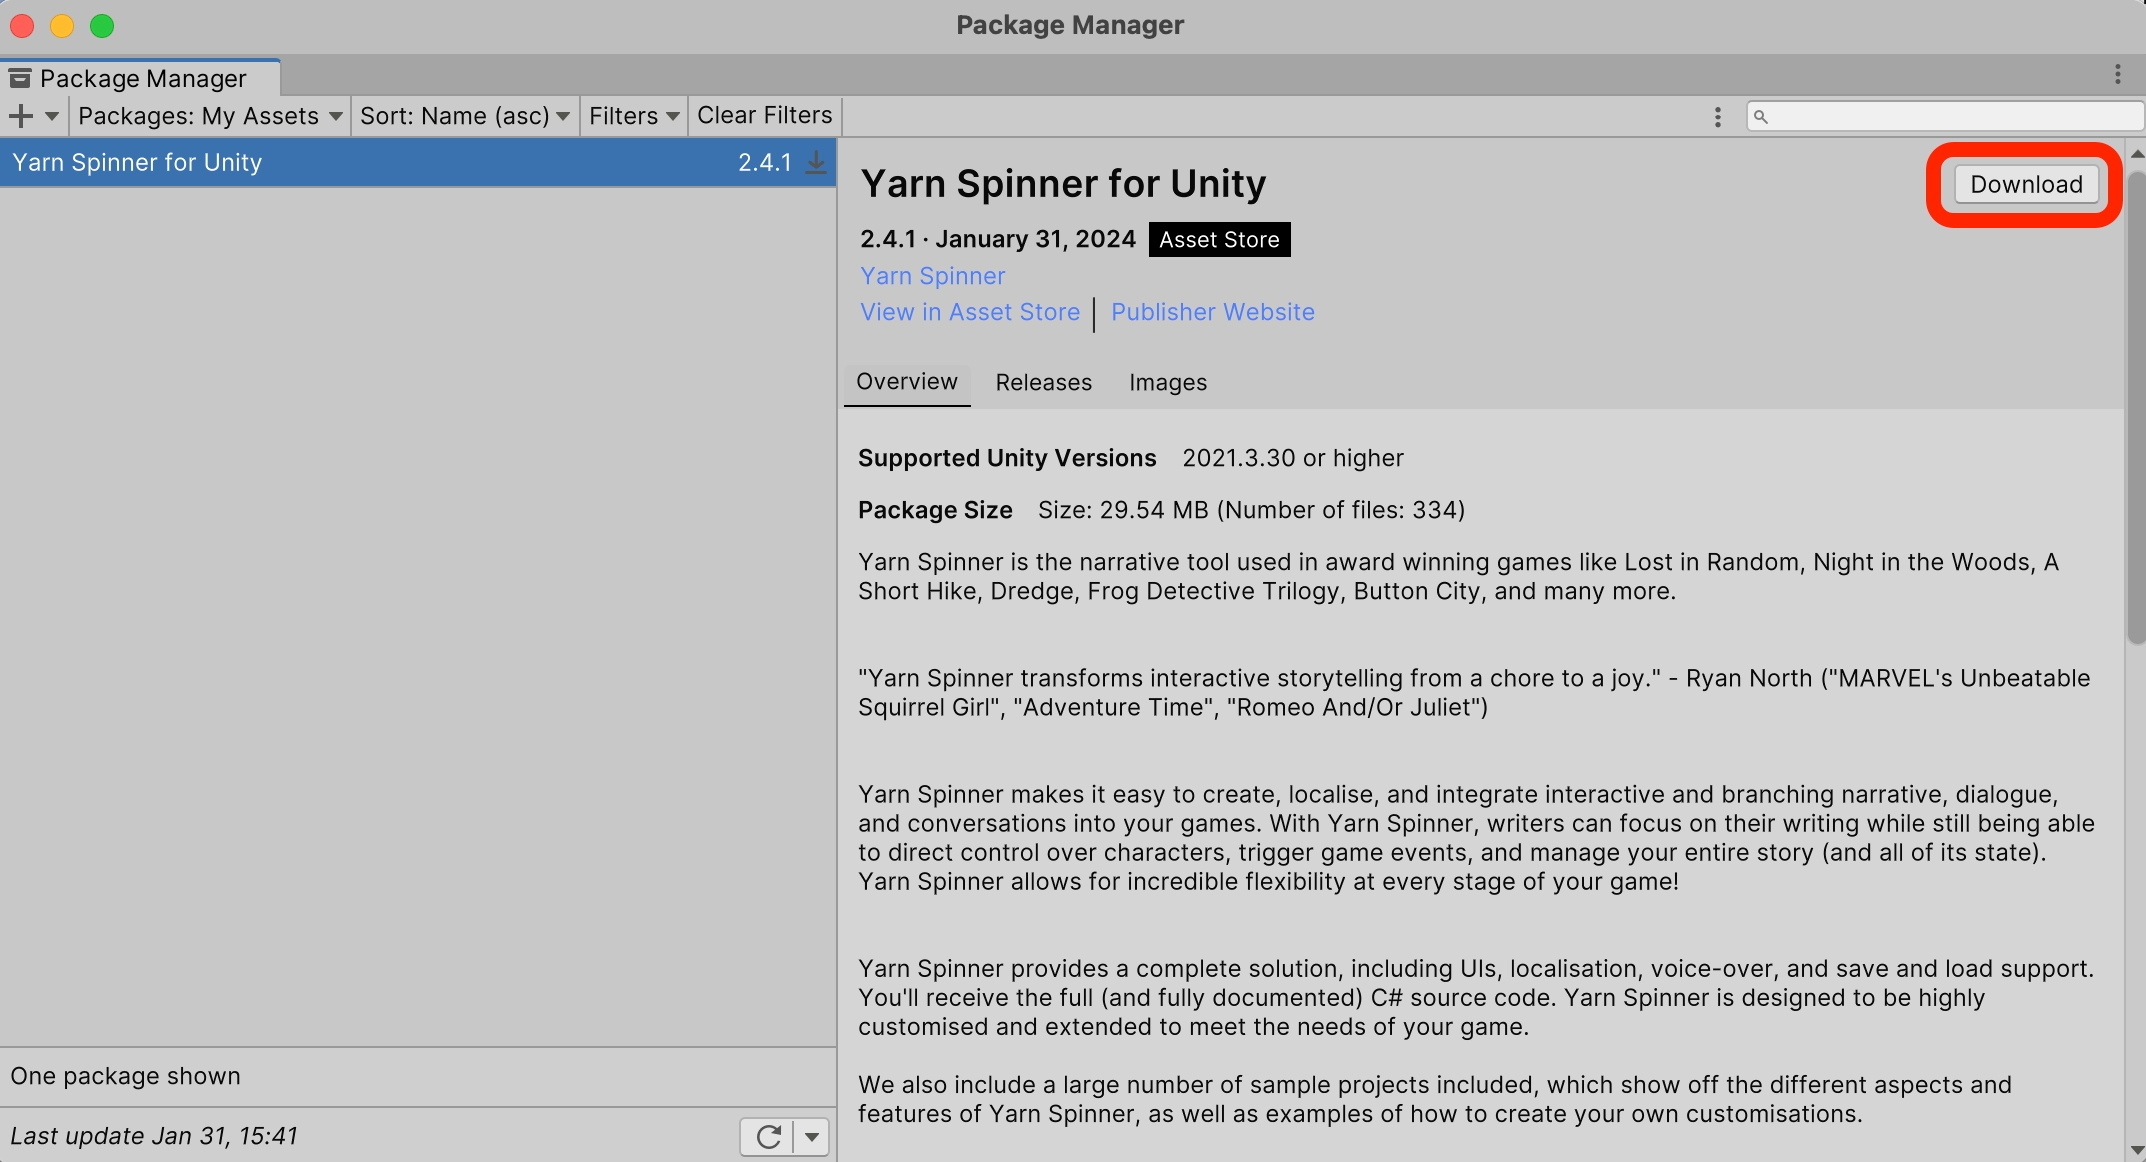
Once the Package Manager has located the package, you can use the Download button to fetch it:
Once Yarn Spinner for Unity has downloaded, you can use the Import button to start the process of adding it to your project:
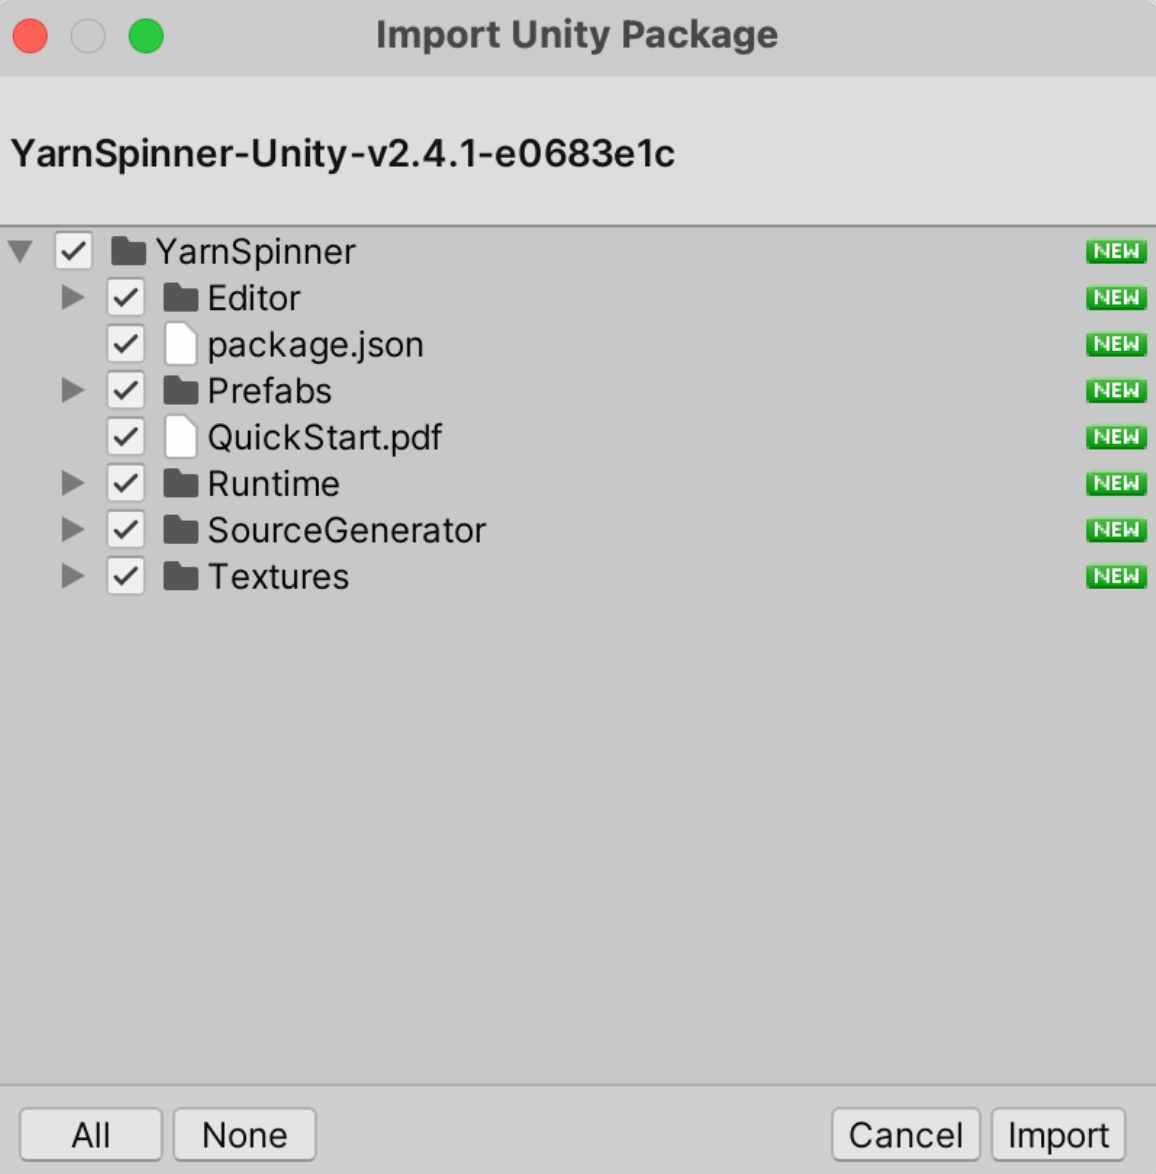
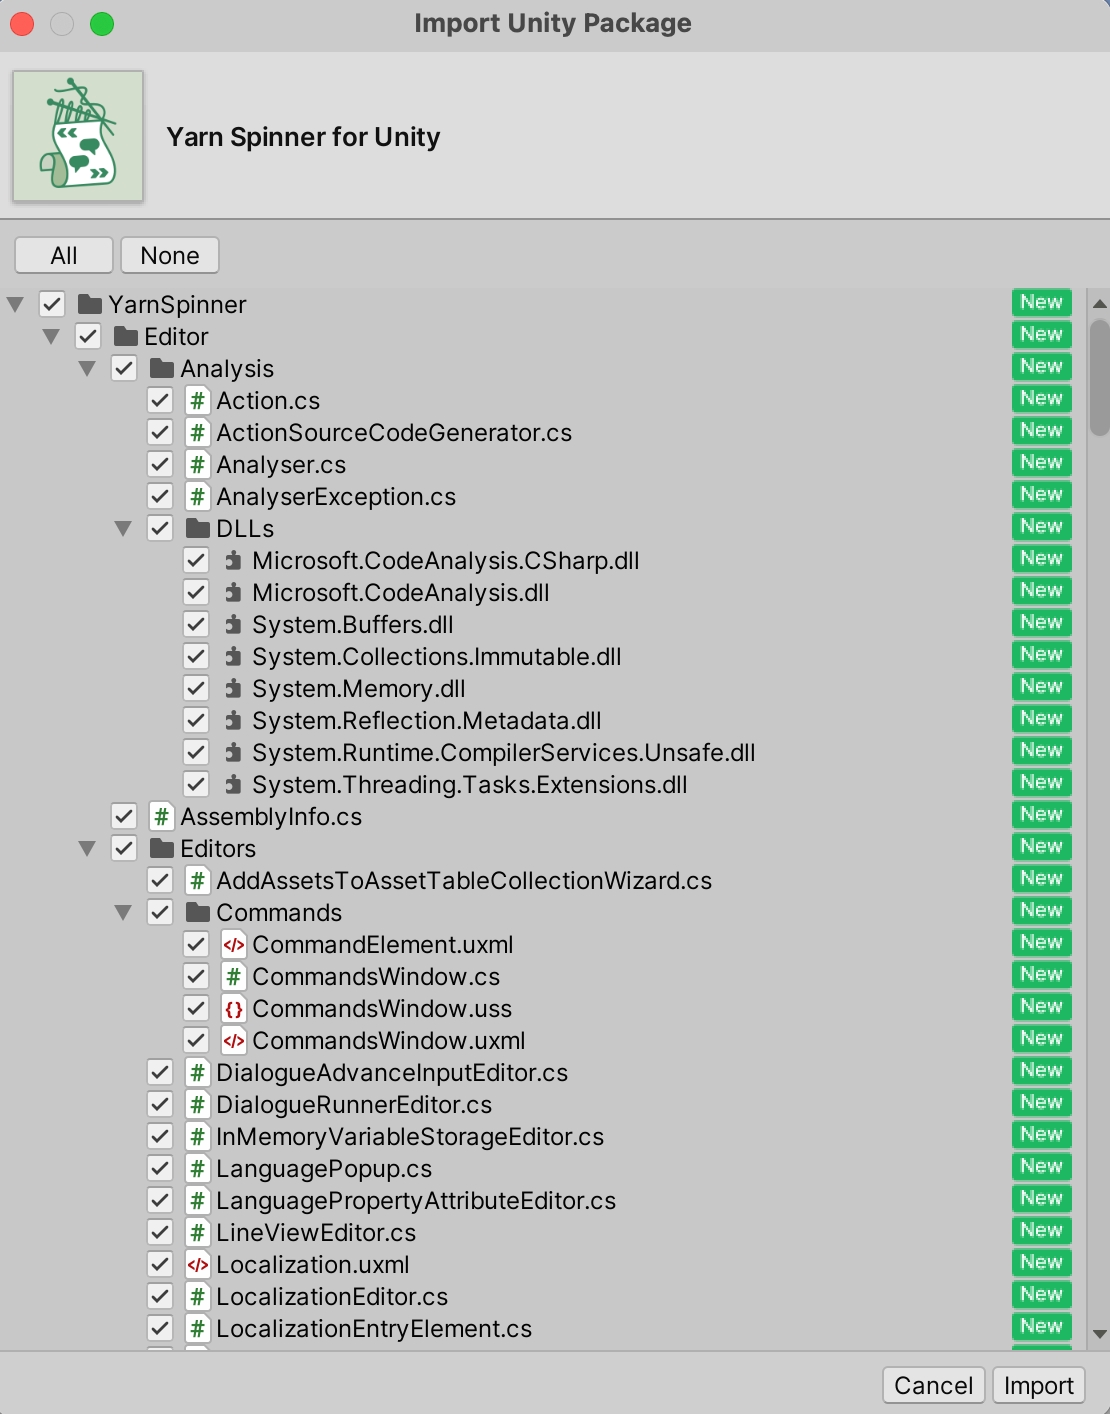
This will trigger the Import Unity Package workflow, where you can use the Import button to add the Yarn Spinner for Unity package to your project:
And with that, you're ready to use Yarn Spinner! You might also want to download and import the Yarn Spinner for Unity Samples as a .unitypackage, from here.
You can review Unity's documentation for using the Asset Store for further guidance on working with purchased packages.
If you would prefer to download and install Yarn Spinner for Unity outside of Itch or the Unity Asset Store, we provide the following methods:
Once you've installed Yarn Spinner, you're ready to start using it!
Yarn Spinner for Unity provides a way to get the contents of your Yarn scripts into Unity, which allows you to construct a game around your dialogue. This beginner's guide shows guides you through one simple way of using Yarn Spinner for Unity to do this.
The provided Yarn Spinner views use the Unity package TextMesh Pro to display text. This means you will need to install it before using Yarn Spinner. To do this, open the Window menu and choose -> TextMesh Pro -> Import TMP Essential Resources.
If you work with a preexisting game that you're adding Yarn Spinner to, you may already have TextMesh Pro in your project.
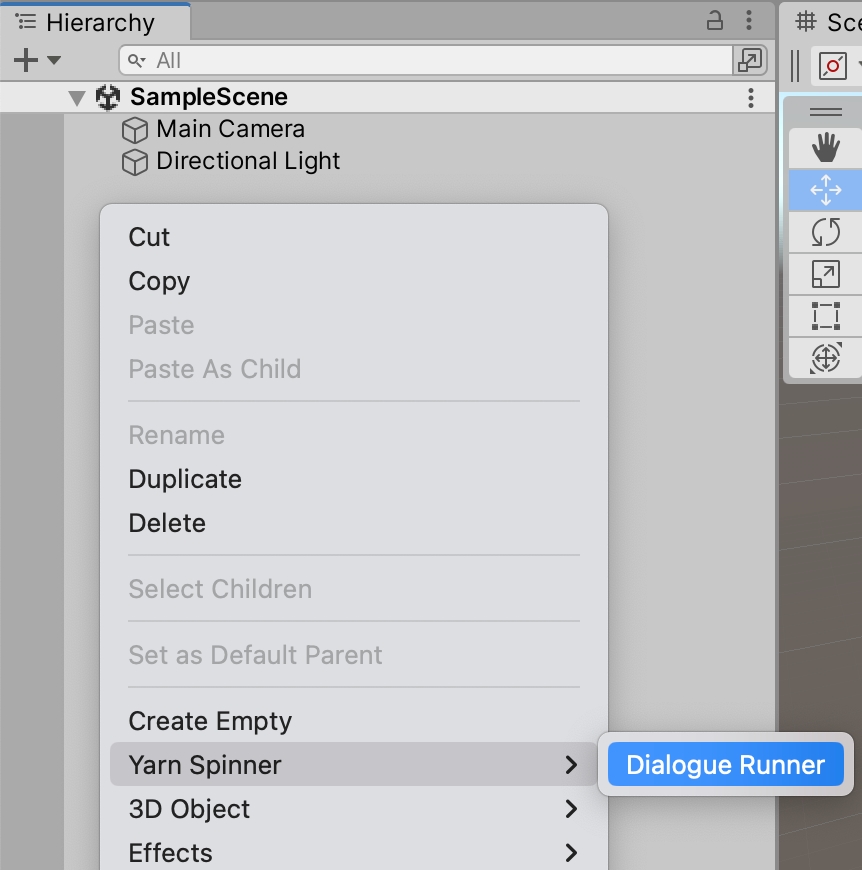
In the empty project that now has the Yarn Spinner for Unity package installed, right click in the Hierarchy and choose Yarn Spinner -> Dialogue Runner. This will add a new Dialogue System prefab to your scene, which we'll be working with in a moment.
Instead of right-clicking in the Hierarchy, you can also use the GameObject menu -> Yarn Spinner -> Dialogue Runner.
The Dialogue Runner that has been added to your scene is a prefab supplied by Yarn Spinner for Unity that acts as a bridge between the dialogue written in your Yarn scripts, and everything that happens in Unity.
Specifically, it works with two different things, which are key concepts when working with Yarn Spinner for Unity:
a Yarn Project
a Dialogue View
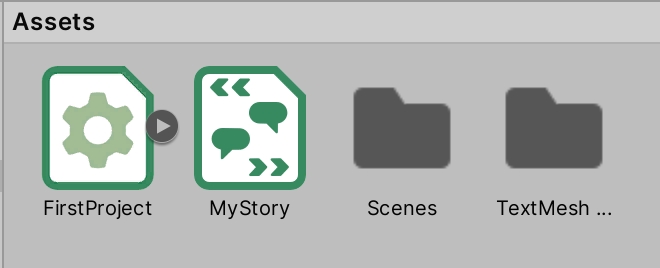
First, we'll look at the Yarn Project. A Yarn Project is a Untiy asset that lives on disk. Create one by right-clicking in the Assets pane and choose Create -> Yarn Spinner -> Yarn Project.
With the new Yarn Project created, name it FirstProject, and then use the same menu to create a Yarn Script. Name the Yarn Script MyStory.
The Yarn Script you've created is actually a .yarn file that's now named MyStory.yarn. Double click it in the Assets pane to open it in Visual Studio Code.
Put the following Yarn script into MyStory.yarn, save the file and return to Unity:
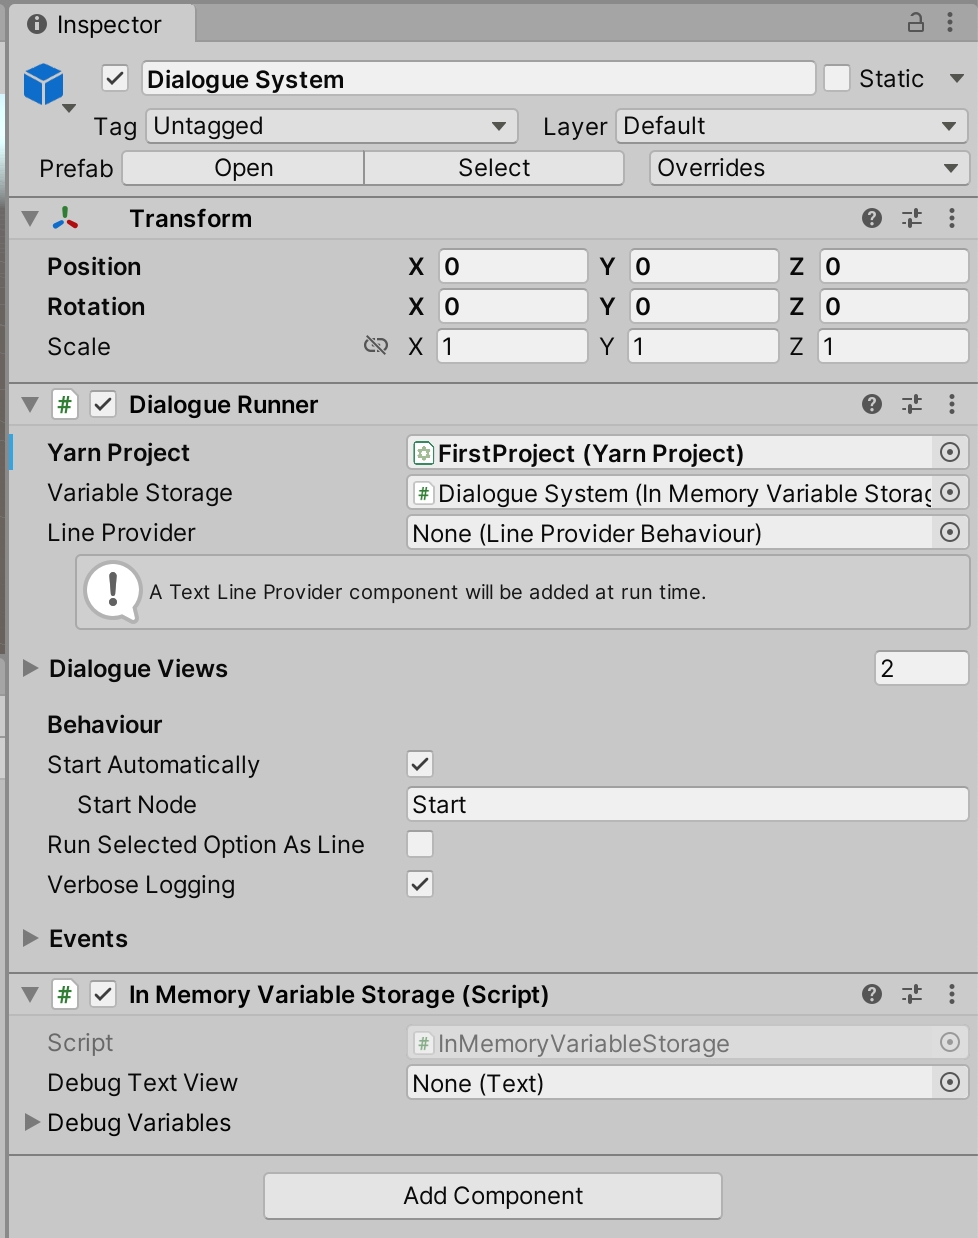
To connect the Yarn Project you created to the Dialogue Runner that's in the scene, select the Dialogue Runner in the Hierarchy and drag the FirstProject from the Assets pane into the Yarn Project slot, as shown here:
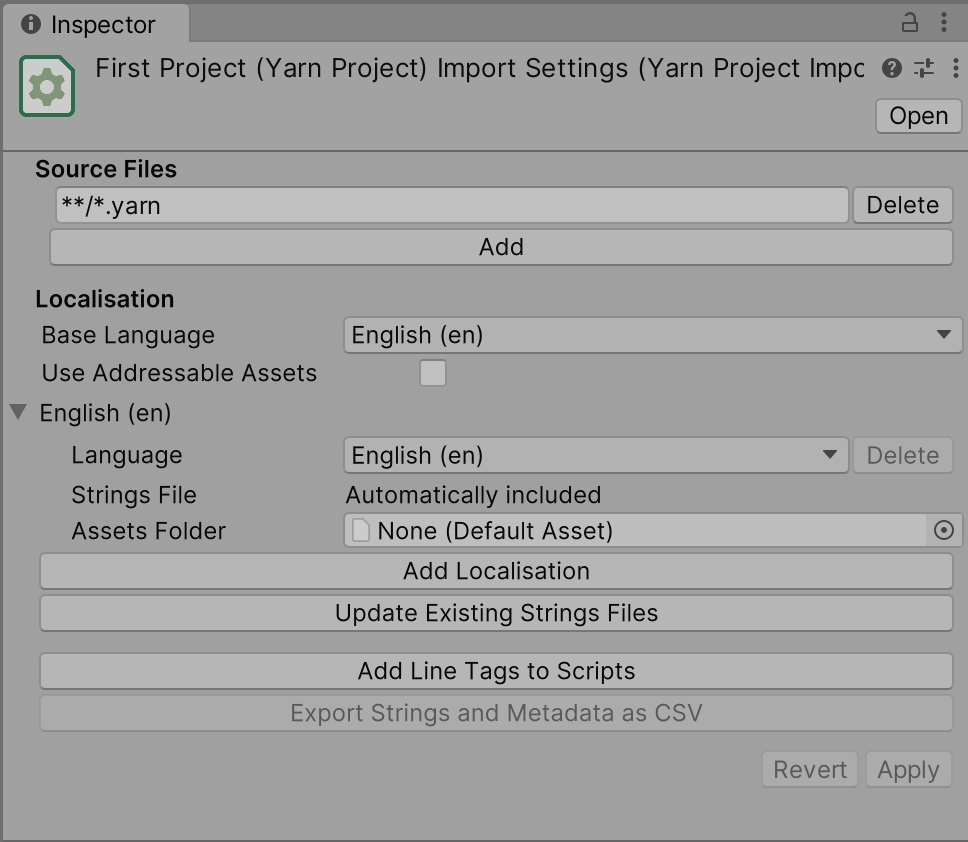
With that done, select the Yarn Project FirstProject in the Assets pane, and look to the Inspector.
You'll see the Source Files field contains **/*.yarn — this tells this specific Yarn Project to look for all .yarn files in the same folder as the Yarn Project asset, and any subfolders. Thus, any .yarn files next to it will be included as part of the project, which means MyStory.yarn will be found.
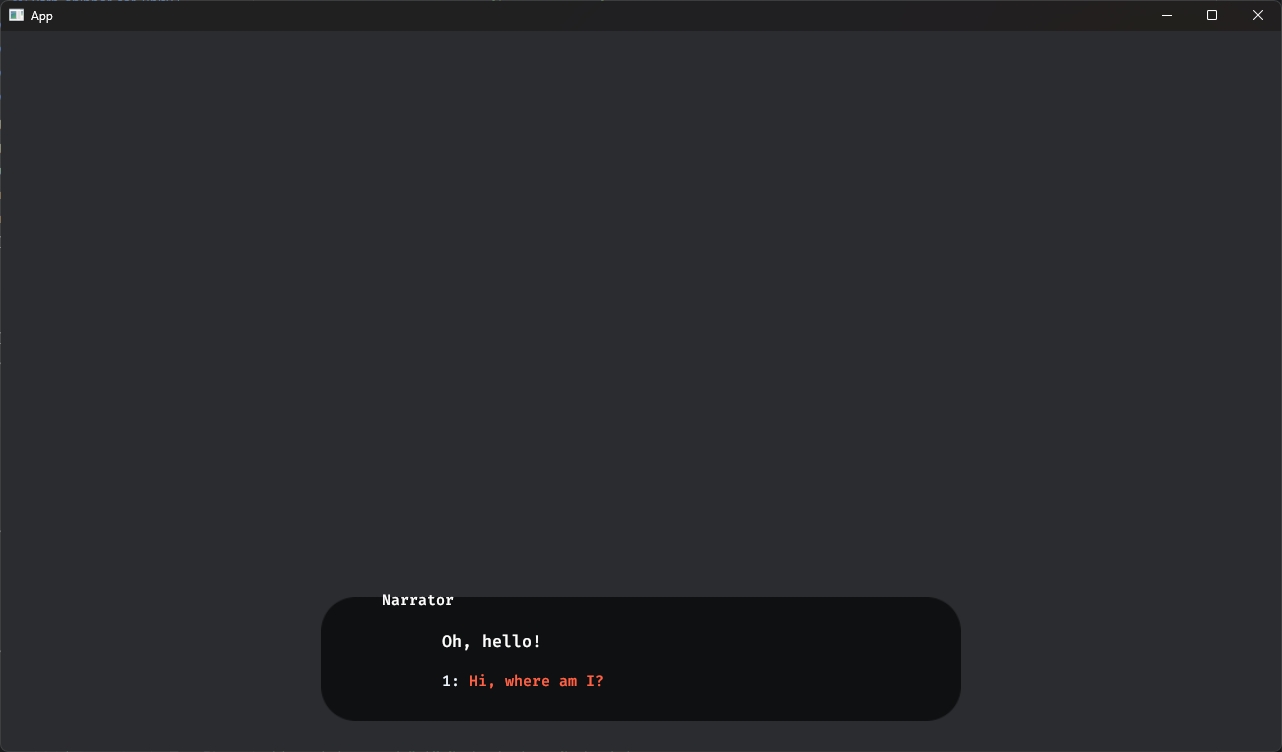
At this point, you can play your project, and step through the dialogue in the default Yarn Spinner for Unity Line View and Options List View:
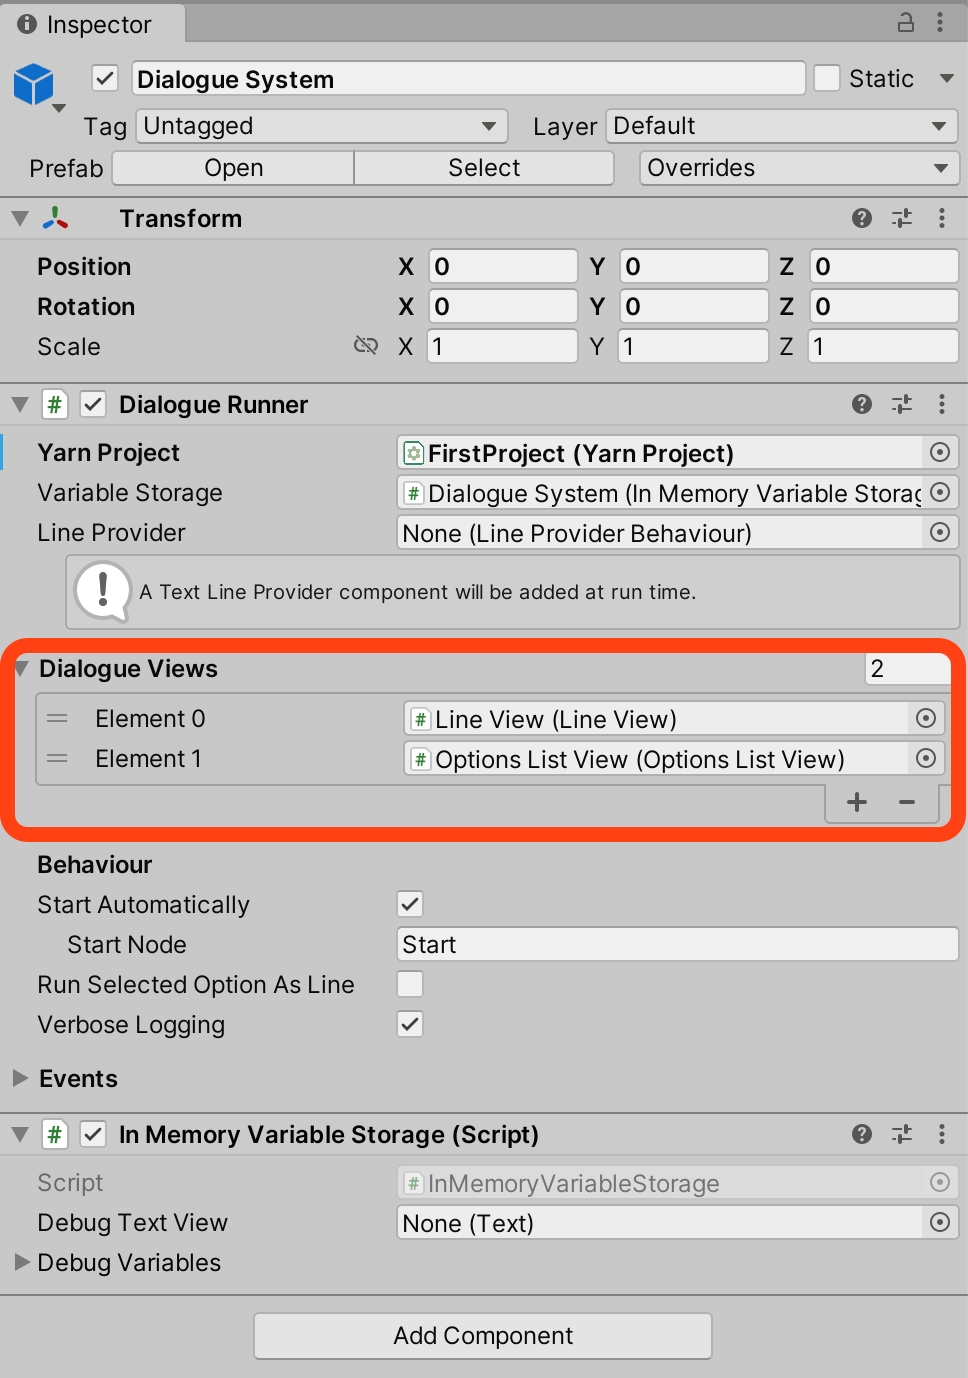
To understand how this is working, it's important to understand the concept of Yarn Spinner Dialogue Views. Select the Dialogue System in the Hierarchy, and expand the Dialogue Views section:
This section is where you specify which DIalogue Views should be used to display the content coming from the Yarn script(s): in other words, how the lines of dialogue, and choices, should be displayed.
A Dialogue Runner can have multiple Dialogue Views. For example, by default the Dialogue System prefab has one Dialogue View that's designed to display lines of dialogue (Line View), and another that's in charge of displaying options to the player (Options List View).
All Dialogue Views receive all lines and options, and it's up to them to handle them appropriately. So the Line View that we supply will only displays lines that are not options, and the Options List View will only display lines that are options.
While Yarn Spinner for Unity supplies some basic Dialogue Views, you can also create your own. To learn about this visit Creating Custom Dialogue Views, but do note that it is a significant step from this Beginner's Guide.
With that, we've reached the end of our beginner's guide. You're ready go forth and build games with Yarn Spinner! You're also equipped to work with the rest of the documentations here! Don't forget to join the Discord, to chat with other Yarn Spinner users, the Yarn Spinner team, seek help, and share your work.
addons directory in a local copy of Yarn Spinner for Godot.addons directory in.DefaultDialogueSystem.tscn.DefaultDialogueSystem instantiated into your scene.DialogueRunner.DialogueRunner to start automatically.

