Learn how to use the Automatic-Layout Dialogue Wheel, from the Dialogue Wheel for Yarn Spinner Add-On Package.
The Automatic-Layout Dialogue Wheel provides a dialogue wheel with a simple graphical appearance, and can—theoretically—support as many options as you'd like, automatically adjusting to display them.
To use the Automatic-Layout Dialogue Wheel make sure your Unity project has the Yarn Spinner package installed, and the install the Dialogue Wheel for Yarn Spinner package.
Then, create a new Dialogue Runner in your Hierarchy:
Then, in the Project pane, create a new Yarn Project asset:
And create a new Yarn Script to use:
Name both the Yarn Project, and the Yarn Script, something appropriate:
Open the Yarn script to write your story. Then save the Yarn script and return to Unity.
We've provided an initial sample story here, if you want to test things out.
Back in Unity, choose the Dialogue Runner that you added to the Hierarchy, right-click it and choose Prefab -> Unpack. This will allow you to modify the contents of the (former) prefab, in order to add the Automatic-Layout Dialogue Wheel as a Dialogue View.
With the Dialogue Runner selected in the Hierarchy, drag the Yarn Project that you created from the Project pane into the Yarn Project slot in the Dialogue System's Inspector:
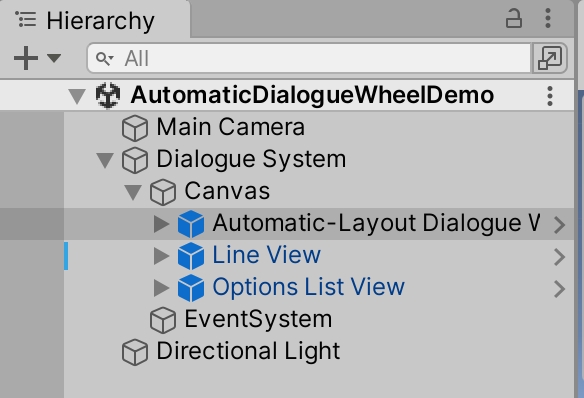
Next, locate the Automatic-Layout Dialogue Wheel prefab, supplied with this add-on, and drag it from the Project pane, so it's below the Canvas in the Hierarchy:
Right-click on the Options List View in the Hierarchy, and choose Delete. You won't need that view, as you'll be displaying a wheel, instead of a list. To make the Dialogue System aware of the Automatic-Layout Dialogue Wheel, select it (the Dialogue System) in the Hierarchy, and drag the Automatic-Layout Dialogue View from the Hierarchy into the Element 1 slot of the Dialogue Views section in the Inspector:
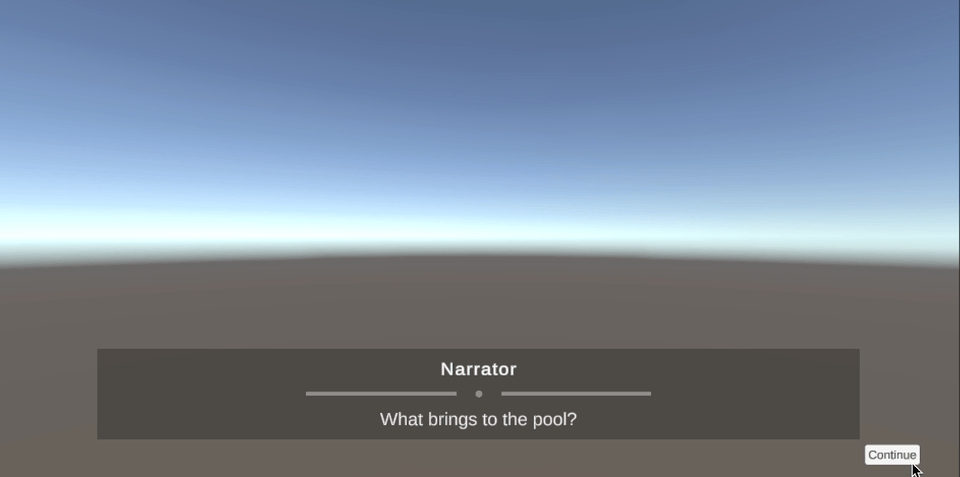
If you save your scene and run it, your Automatic-Layout Dialogue Wheel should now be working!
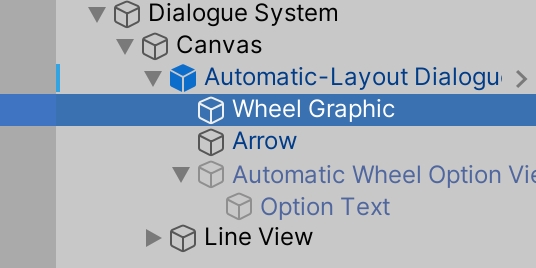
To customise the supplied wheel, select the Wheel Graphic in the Hierarchy:
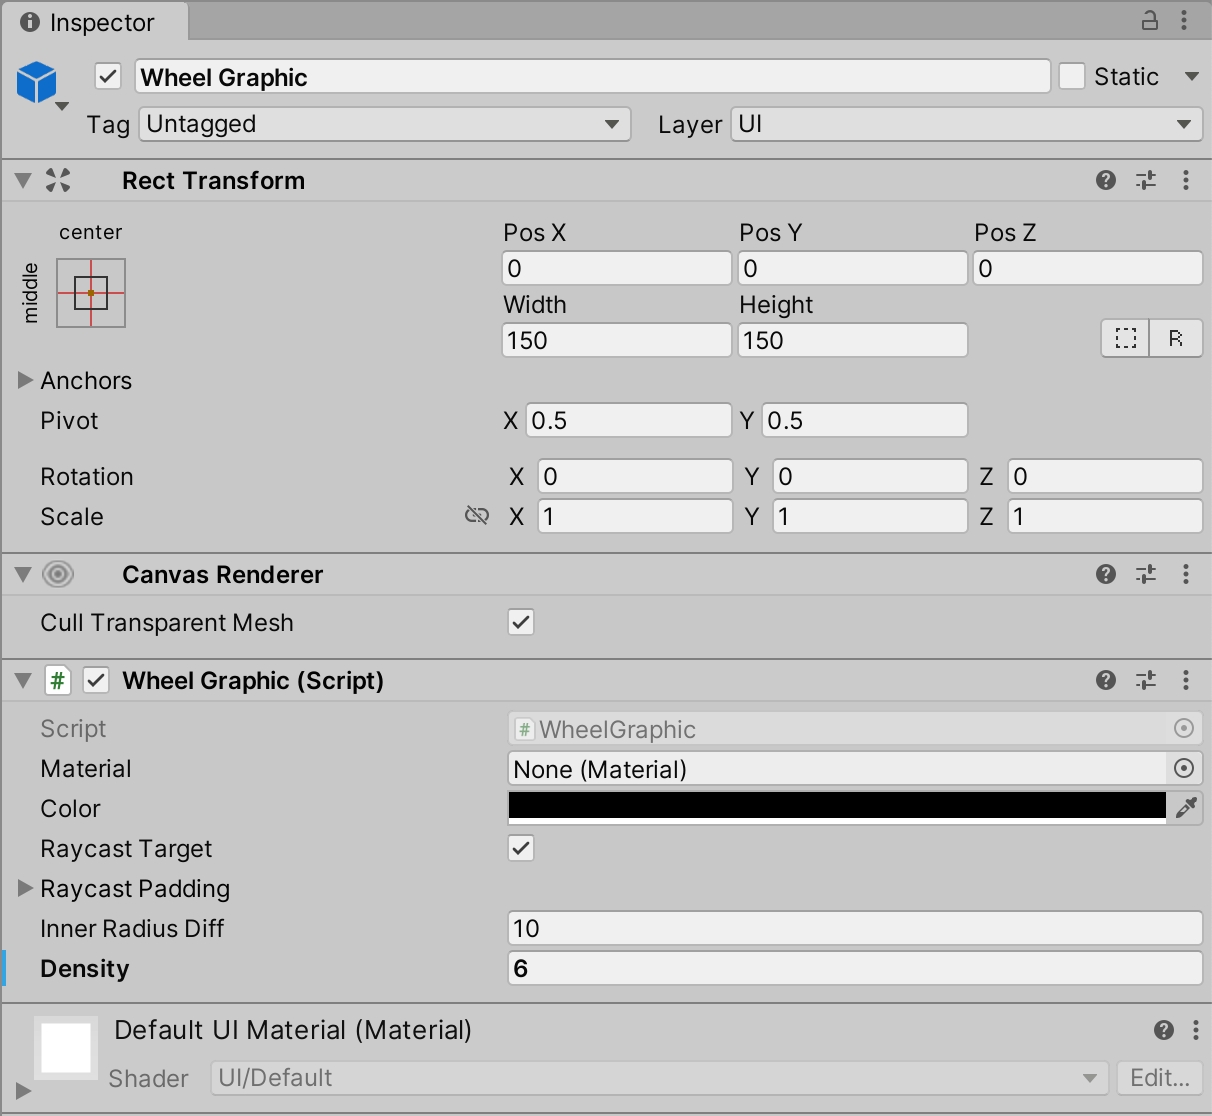
And look to the Inspector:
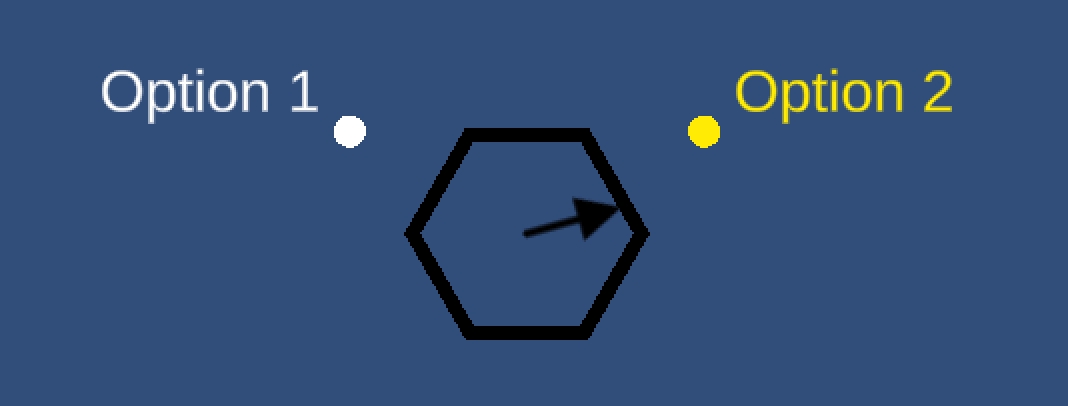
Here, on the Wheel Graphic component, you can customise a variety of things, such as the material, color, inner radius, and density of the wheel. For example, if you set the Density field to 6, as we did above, your wheel will become a hexagon:
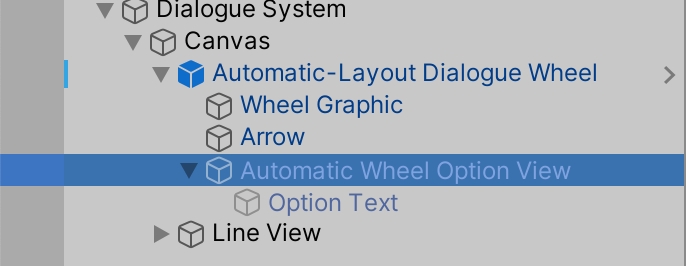
To customise the way each option is displayed around the wheel, select the Automatict Wheel Option View under Automatic-Layout Dialogue Wheel prefab:
And look to the Inspector:
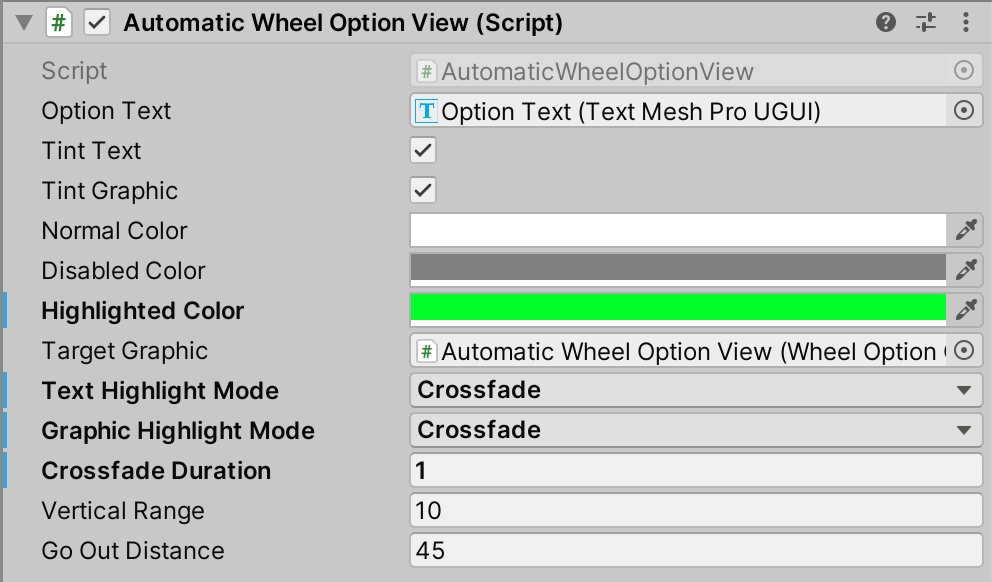
You can tweak some of the fields here to customise the options that are displayed around the wheel. Specifically, you might want to customise the following.
On the Automatic Wheel Option View:
Normal Color — the color of each option that's not currently highlighted or disabled
Disabled Color — the color of each option that's displayed, but cannot be chosen
Highlighted Color — the color of the option that's currently selected (but not yet chosen)
Text/Graphic Highlight Mode — whether each option is immediately highlighted when it's selected, or whether they crossfade between
Crossfade Duration — the duration of the crossfade, if crossfading
On the Wheel Option Graphic:
Material — the Material used for circle graphic displayed near each option
Width — the size of the circle graphic displayed near each option
For example, if you wanted to highlight selected options in green, and crossfade between them, you could set the following:
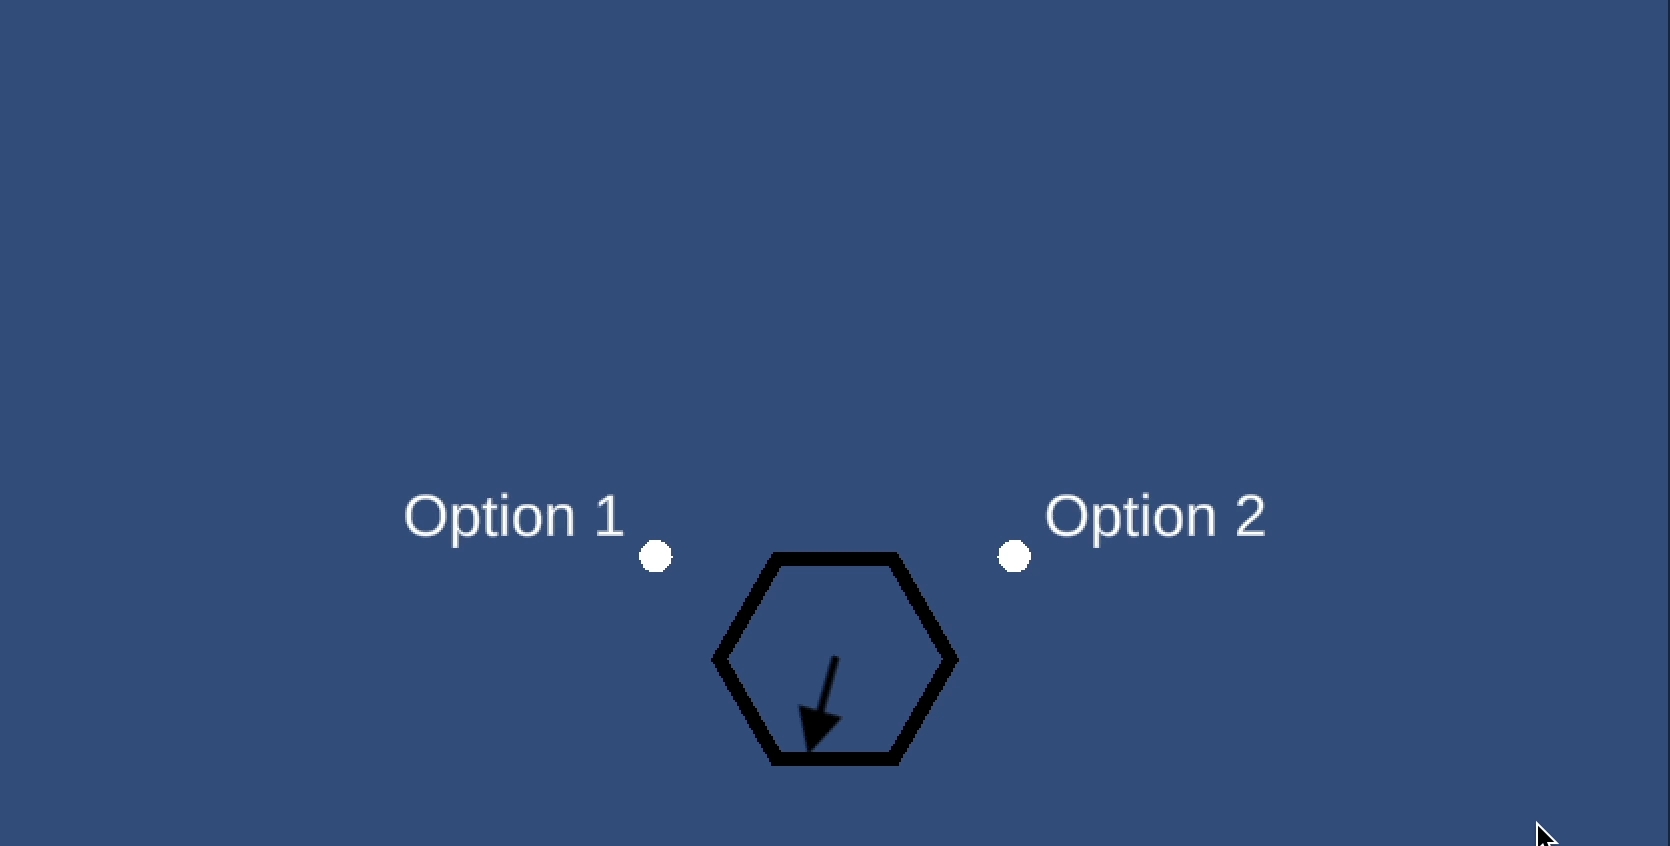
Which would result in something like this:
And that's everything you need to know to use the Automatic-Layout Dialogue Wheel! Review the Dialogue Wheel Examples for more.


