Yarn Spinner for Rust
The third step in our beginner's guide, focusing on getting up and running with Yarn Spinner for Rust using Bevy.
Yarn Spinner for Rust is a Yarn Labs project. It is not fully, or officially supported, and may break, or change at any time.
While Yarn Spinner for Rust is built to be engine-agnostic, the intended way to use it is through an engine-specific wrapper. The currently only supported engine is Bevy. It is a data-oriented game engine using an ECS, which broadly means that you don't look at your game world through the traditional lens of objects mutating the world and each other, but instead see the game as a collection of data attached to various entities that can be queried and manipulated through systems.
This chapter will assume that you are familiar with the basics of Bevy. If you're not there not, try to come back after you've gone through the Bevy Book.
Installing Yarn Spinner for Rust
Let's create a new Rust project called hello_yarnspinner. Type the following into your terminal:
Then, let's add our dependencies:
Setting up Bevy Yarn Spinner
Plugins
Open up the generated src/main.rs and remove its content. Now let's import our dependencies:
Now on to the main function. Let's start by adding all necessary plugins.
DefaultPlugins is necessary for Bevy to do much at all. YarnSpinnerPlugin sets up all functionality of Yarn Spinner except for any actual graphical interface. In order to see anything on screen, you need a Dialogue View. We are using a simple one provided by the ExampleYarnSpinnerDialogueViewPlugin here.
While we are using a simple example dialogue view we created for you, you can also create your own. To learn about this visit Creating Custom Dialogue Views, but do note that it is a significant step from this Beginner's Guide.
Systems
Now we need the game to actually do something. We will do this by registering some systems and then running the app. Extend your main function with the following code:
In order to see anything at all, we need a camera in our game world. setup_camera does just that when the game starts:
The line added for the Update system set might look a bit confusing, so let's clear it up before defining the spawn_dialogue_runner function.
When the YarnSpinnerPlugin starts, it searches for Yarn files in the assets/dialogue/ directory. Along with any localizations or extra assets it might find, it bundles its findings into a YarnProject representing your work. Once this process is finished, a YarnProject resource is injected into the world.
A DialogueRunner is the component that is responsible for actually running any piece of Yarn dialogue found inside a YarnProject. If you want to start, stop or change a dialog, you need to use it. You can guess that this only works once the YarnProject has actually finished loading. This is why we use .run_if(resource_added::<YarnProject>()); to wait exactly with spawning the DialogueRunner until everything is ready.
With that out of the way, let's look at the definition of spawn_dialogue_runner:
This code will not spawn the DialogueRunner, but tells it to immediately run a node called "Start" from a Yarn file.
Creating a Yarn File
Create a file inside assets/dialogue/ called my_story.yarn. Open it and fill it like this:
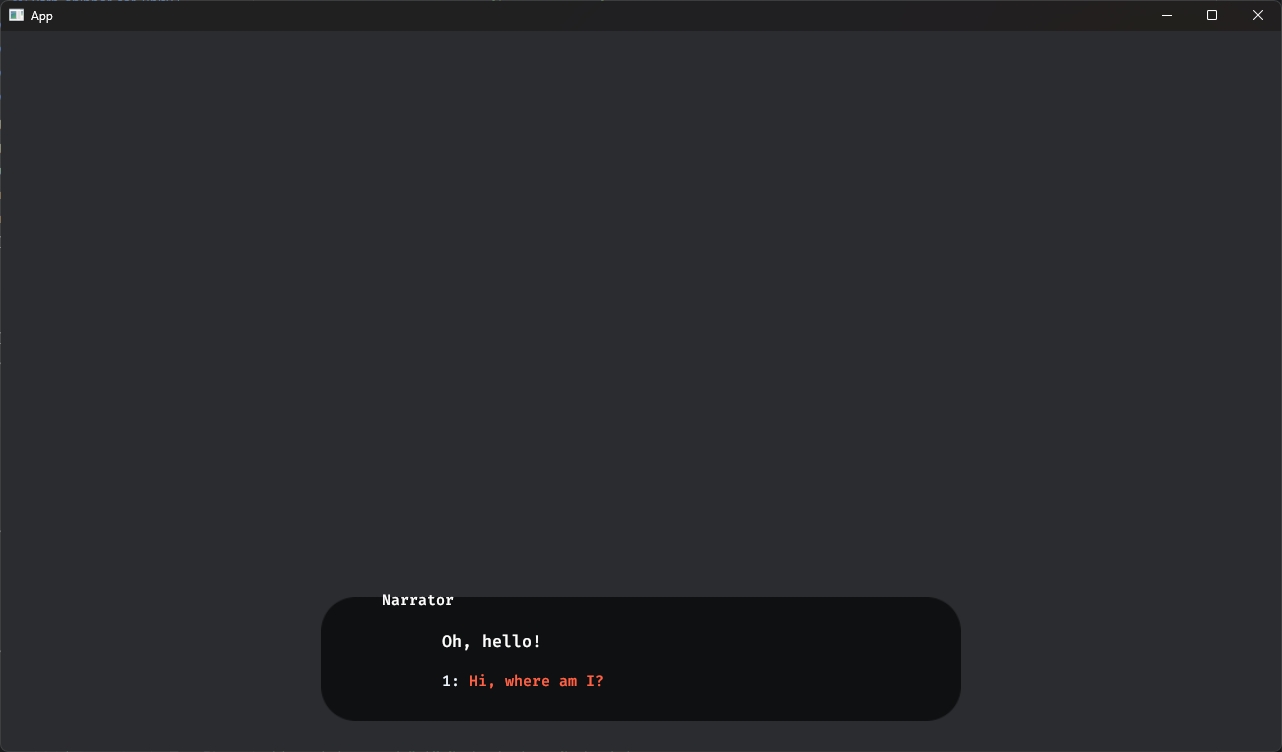
Now you can simply run cargo run in your terminal and enjoy your freshly created dialog:
Troubleshooting
If anything went wrong, make sure that your directories look like this:
Your src/main.rs should look like this:
And your Cargo.toml should look like this:
Next Steps
With that, we've reached the end of our beginner's guide. You're ready go forth and build games with Yarn Spinner! You're also equipped to work with the rest of the documentations here!
Don't forget to join the Discord, to chat with other Yarn Spinner users, the Yarn Spinner team, seek help, and share your work. It might also be worthwhile joining the Bevy Discord (unaffiliated with Yarn Spinner).
Last updated
Was this helpful?

